
Preparation
Now that you’ve read the overview, purchased a few guide books, and decided climbing in Glacier is for you it’s time to start planning a climb. I can’t stress enough the importance of starting with peaks and routes that are within your fitness level and climbing experience. Don’t bite off more than you can chew or you might not have a good time. Even worse, you could have a bad outcome.
Let’s look at difficulty ratings. The Glacier Mountaineering Society has developed a system to quantify/qualify the difficulty of a particular climb. This is the standard by which the vast majority of us assess an adventure we might be pursuing. If you don’t know what distance and elevation gain you can handle I recommend you start with an easy climb such as Mount Oberlin and see how it goes for you.
GMS Climb Classification System
Class I (1) Easy = Trail hiking
Class II (2) Moderate = Low angle scrambling.
Class III (3) Difficult = High angle scrambling, moderate cliffs, considerable exertion. Rope might be necessary for beginners. (Most of the basic climbs in the park. I like to think of this class as where you need three points of contact to climb)
Class IV (4) Very Difficult = Higher angle cliffs, increased exposure. Belaying rope often required. (I like to think of this class as requiring four points of contact)
Class V (5) Severe = High angle cliffs, severe exposure. Protection placed by leader. Technical climbing experience necessary.
Class VI (6) Extremely Severe = Direct aid technical climbing. Overall rating in the classification reserved for only the biggest technical climbs. (example North Face of Mt. Siyeh or East Face of Mt. Gould)
| Distance | Amount | Elevation | Amount | |
| (S) Short | 1 – 6 miles | (S) Short | <3,000′ | |
| (M) Medium | 6 – 12 miles | (M) Medium | 3,000′-4,500′ | |
| (L) Long | 12 miles + | (L) Long | >4,500′ |
Helmets
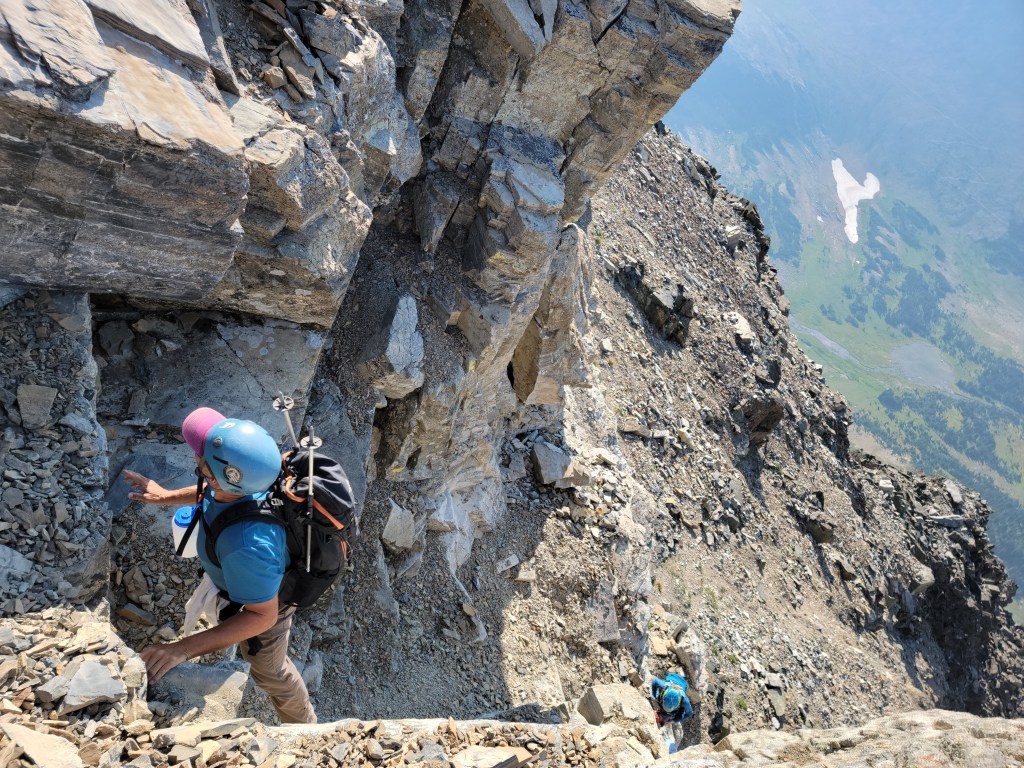
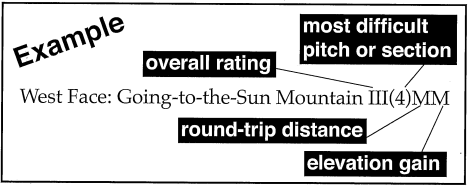
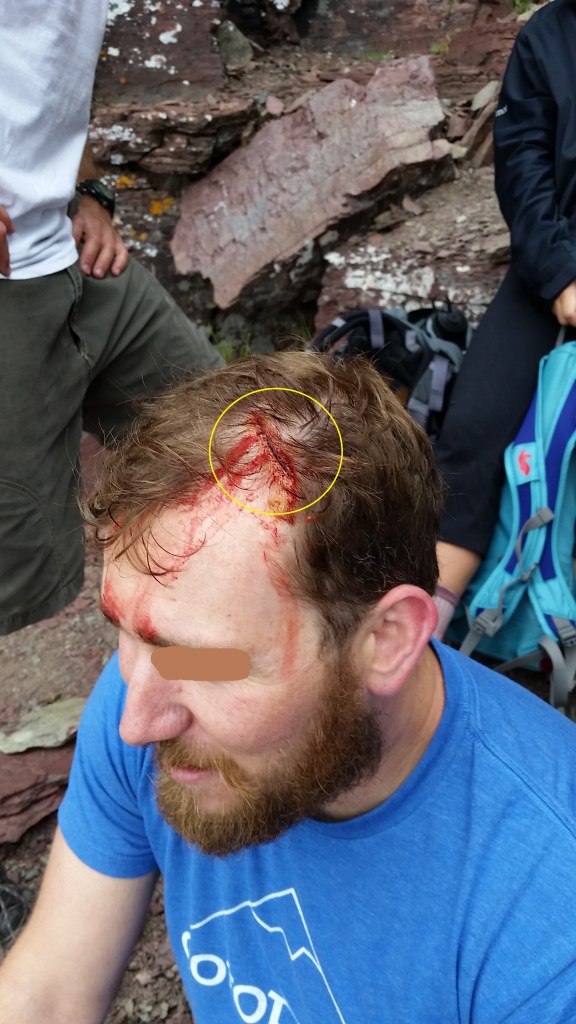
Take a helmet. Wear a helmet. Make helmets COOL again! Helmets are a good idea (mandatory if you climb with me) on anything Class III or higher, or Class II if you are next to cliffs where rockfall is possible (such as traversing below Reynolds to get to the route on the back side). Helmets help protect from rockfall (caused by fellow climbers, goats, or mother nature). They come in handy when ascending ledges as you can easily strike your head on rocks as you are moving up (see photo). Lastly, you could easily slip on wet or loose rock on inconsequential terrain but strike your head on a rock.
The Climbing Day-Pack
Hope is not an action plan…
Loading your pack can get you really hyped for your adventure. A climbing pack is a little different than a hiking pack. It’s a good idea to have a checklist so you don’t forget something important. You’ll want a well-fitting pack of 25L to 40L. Prepare for the worst. Below is a list of items I have in my pack every time I go off-trail. I’m also including a checklist I find helpful.
The Ten Essentials (survival tools in case you get stranded or injured)
- Navigation: Maps, GPS, InReach, Compass
- Headlamp + batteries
- Sun/Wind Protection: Sunglasses, Sunscreen, Hat, UPF Clothing, Buff
- First Aid: This could be a topic of its own, but start with the basics
- Knife: Sometimes a multi-tool is handy. Also some repair gear
- Fire: Fire starter, matches/lighter, tinder
- Shelter: Light bivy in summer, Insulated bivy in the shoulder season
- Extra Food: Calorie dense foods to survive an extra night
- Extra Water: Plan an average of 3 liters/day and ability to filter more
- Extra Clothing: Layering is key. Cover your head and hands as a priority
Other Items I Carry With Me
- Helmet
- Accessory cord/Paracord
- Route specific: 30M rope, belay device, 2 lockers, 2 non-lockers, alpine harness
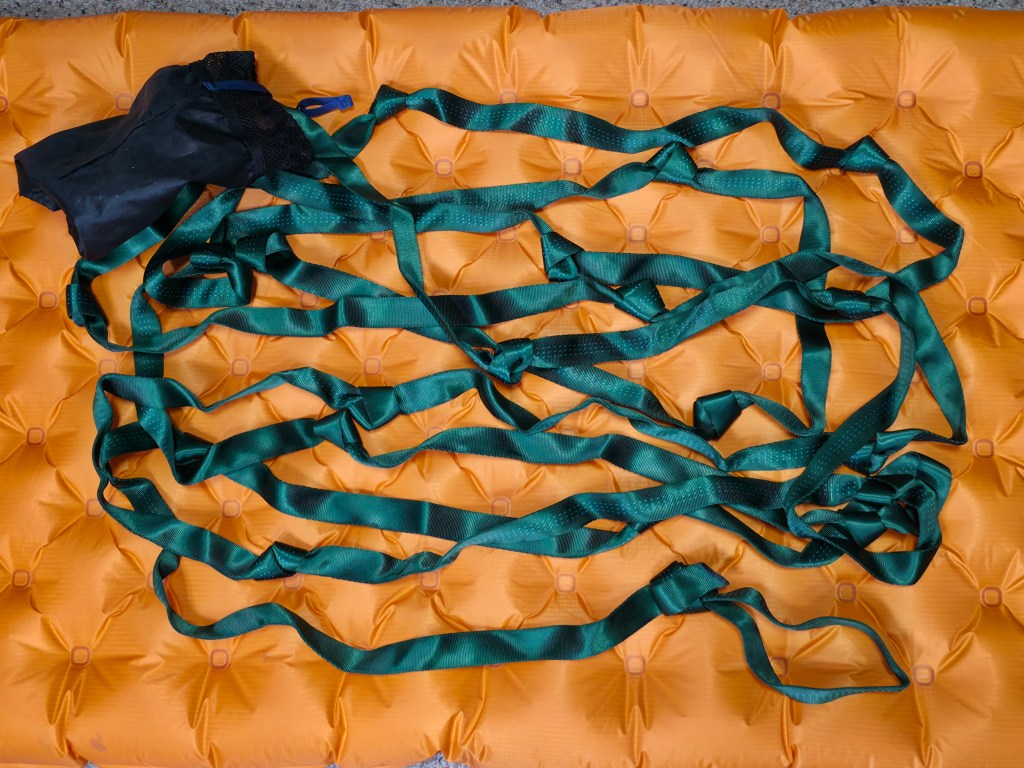
- 30′ Webbing Hand Line (to help someone up or down a difficult short pitch)
- Trekking Poles (can also help with shelter, splinting, carry-outs)
- Bear Spray
- Insect Repellent
- Chapstick
- Toilet Paper, wet wipes, ziplock to pack out TP, trowel to bury poo
- Rain cover for pack
- 6′ of Duct Tape
- Umbrella (great for shade, rain, and hazing goats)
- Gaiters (to keep scree out of boots & keep pants/socks dry from wet grass)
Clothing Choices
- Buff, Hat (ball cap or beanie)
- Rain Jacket and Pants
- Base and Mid layers: wicking material (no cotton)
- Gloves: 1 pair light gloves, 1 pair insulated gloves
- Extra socks
- Footwear: I prefer an approach type boot with high ankle support. Good grip is very helpful. This also affords protection of the ankle from tumbling rock
Food Choices
- Rapid Energy: candy bar, fruit, energy gel
- Endurance Fuel: Cliff type bars, jerky, nuts
- Satisfying: a nice summit sandwich and a celebratory shot of whiskey
- Electrolytes: I prefer LMNT. 1/3 of my H2O consumption is with electrolytes
- Don’t forget to pack a little extra in case you have to spend the night
Optional Gear You May Find Useful
- Binoculars
- Fishing Gear
- Nice Camera and Tripod
- Pack Chair or Seat Cushion
- Micro-spikes or Crampons
- Mountaineering Axe
- Snowshoes
- Anemometer
- Flora and Fauna info cards
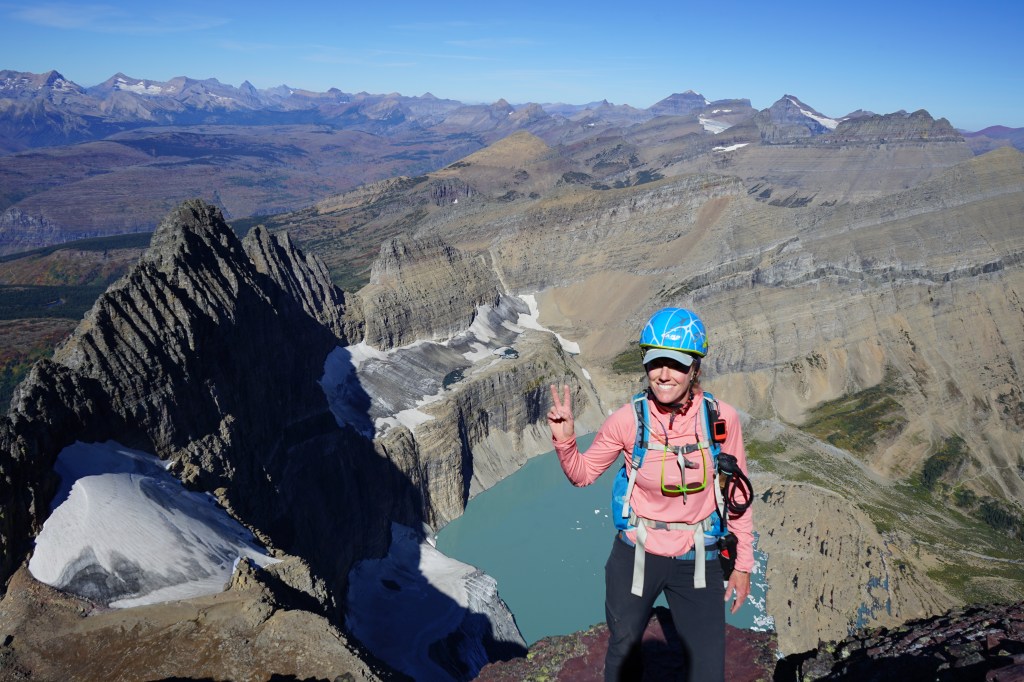
A climber on Mount Gould above Gem, Salamander, and Grinnell Glaciers
You might think all of this gear would weigh a ton and take up too much room. If you pack wisely and use modern light-weight gear you can end up with a compact, efficient, and robust pack at under twenty pounds. So, you’ve got a peak and route planned and your bag is packed. Now it’s time to go out and climb! See part three for climbing techniques and tips…
Did I mention that helmets are COOL?
