Climbing in the Park, part 1

Overview

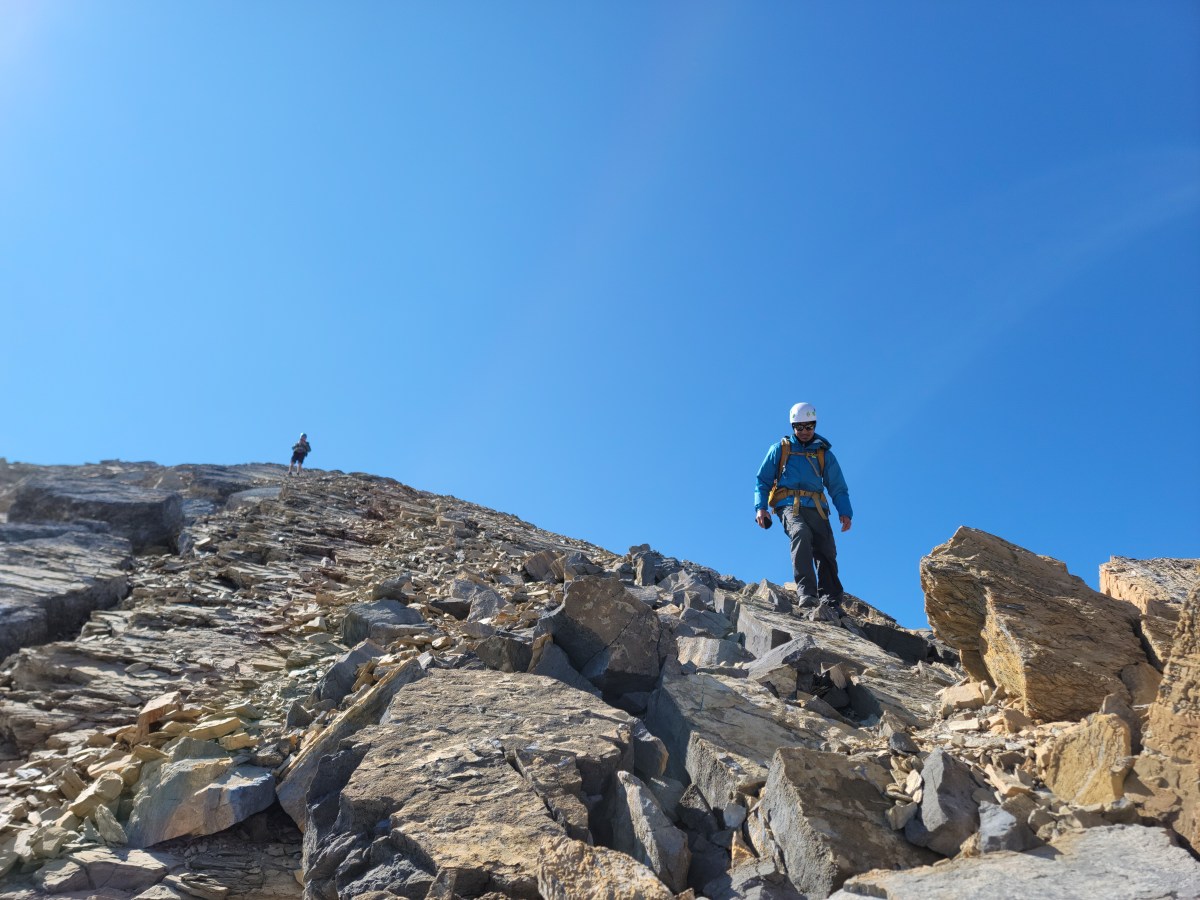
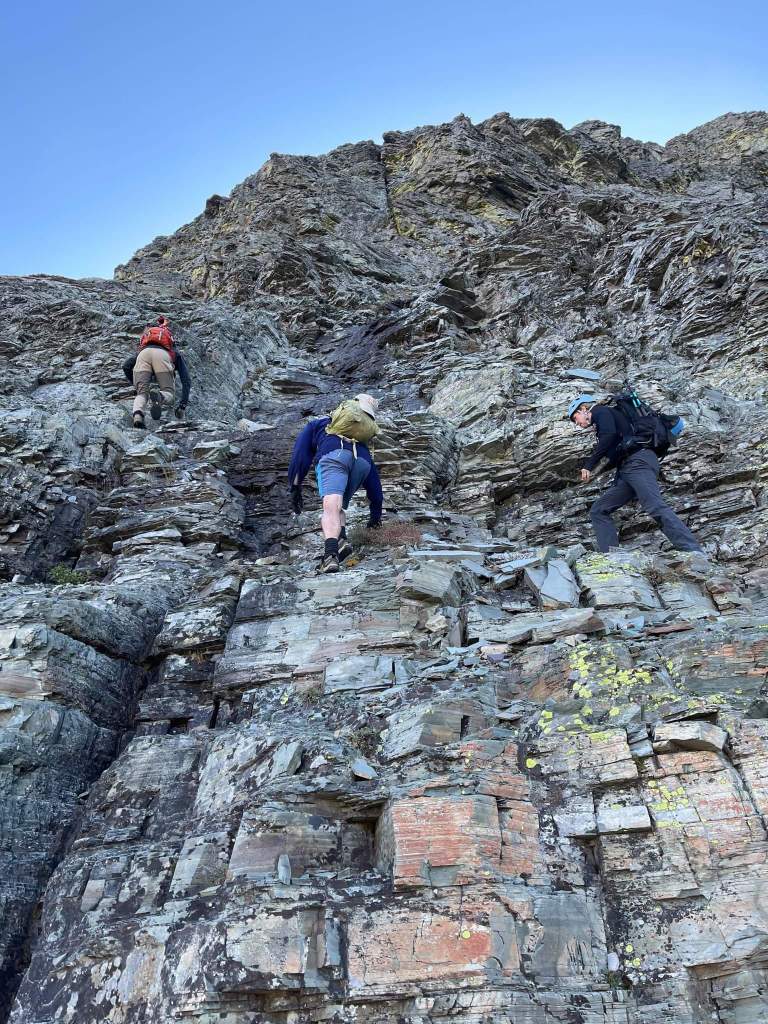
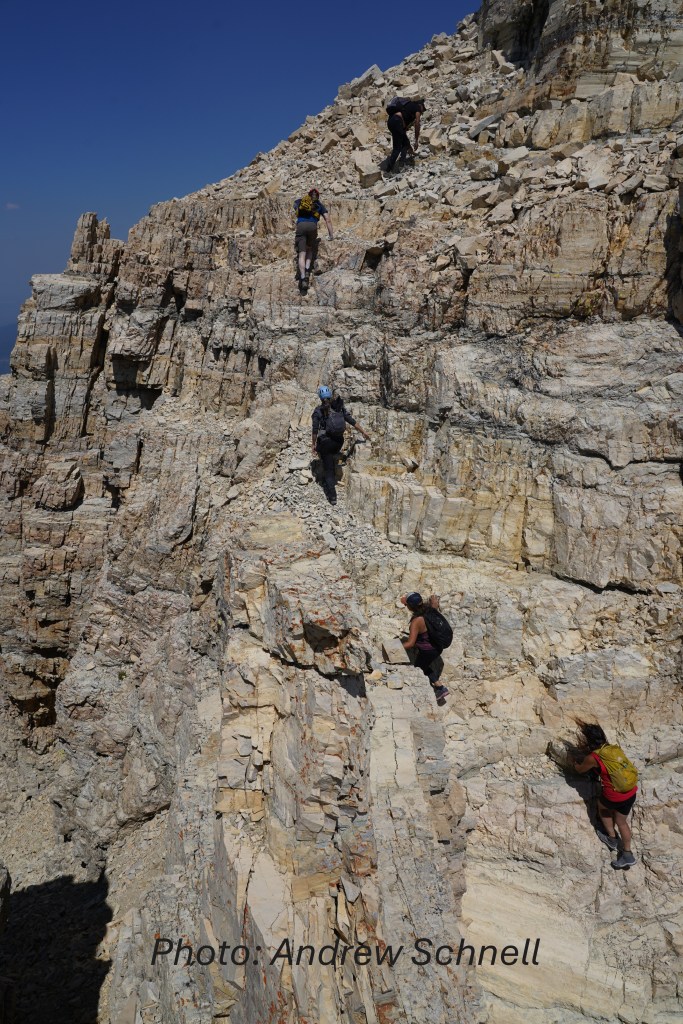
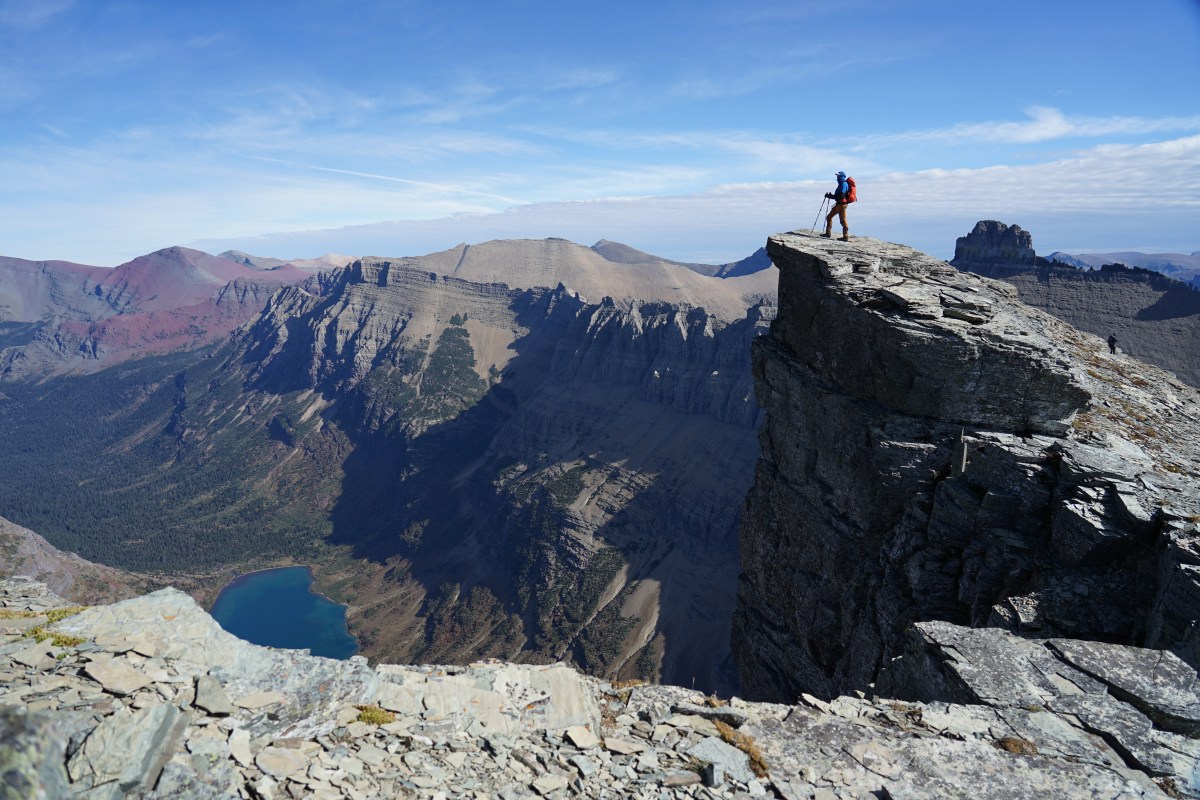
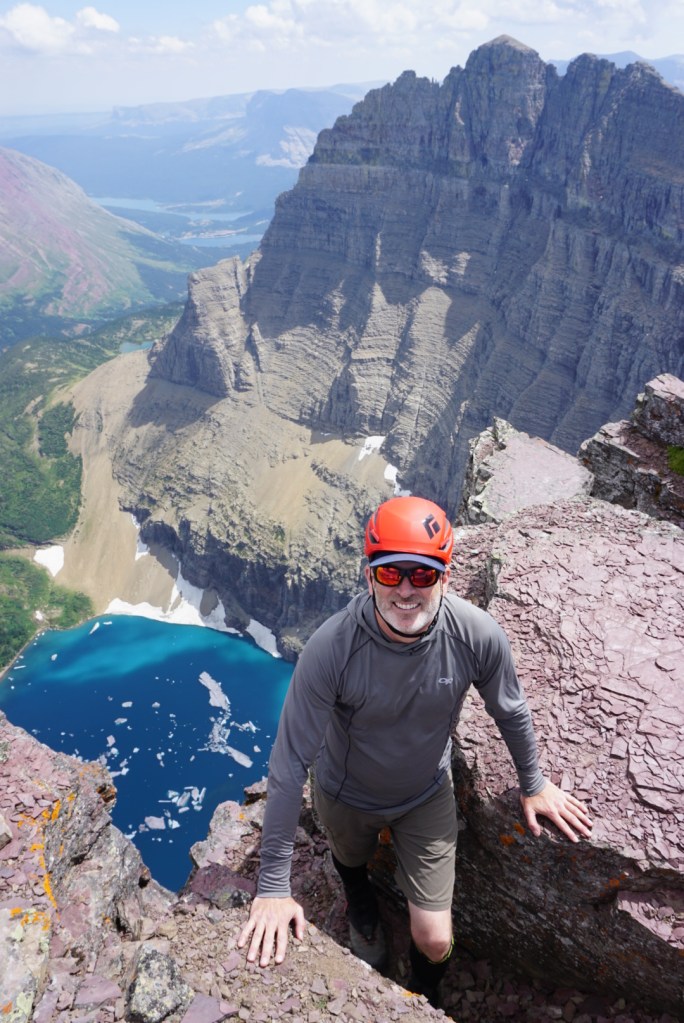
Going off-trail and getting to the top of any one of Glacier Park’s many peaks can be one of the most memorable things you’ll ever do. And it’s becoming increasingly popular. Surprisingly the vast majority of peaks in the park can be reached without any technical gear. We refer to this as “scrambling” or “peak-bagging.” It can also be called “climbing” as it often involves strategic route finding, steep cliffs and ledges, dangerous exposure, 3,000′ to 6,000′ feet elevation gain, and a lot of careful placement of hands and feet on loose rock.

Friends on the summit of Mount Siyeh

Off-trail travel and climbing is allowed in Glacier National Park with few exceptions. Climbing and exploring are considered historical and cultural activities which are protected by law, and while the NPS allows it they certainly do not promote or encourage it (because it’s dangerous and people don’t always come prepared). There are sensitive environments where off-trail travel is strictly prohibited. An example of this is all areas off the boardwalk in the Logan Pass area (except designated climber trails for Reynolds and Oberlin). There may be occasional temporary closures due to wildlife, rescues, resource protection, or other hazards.

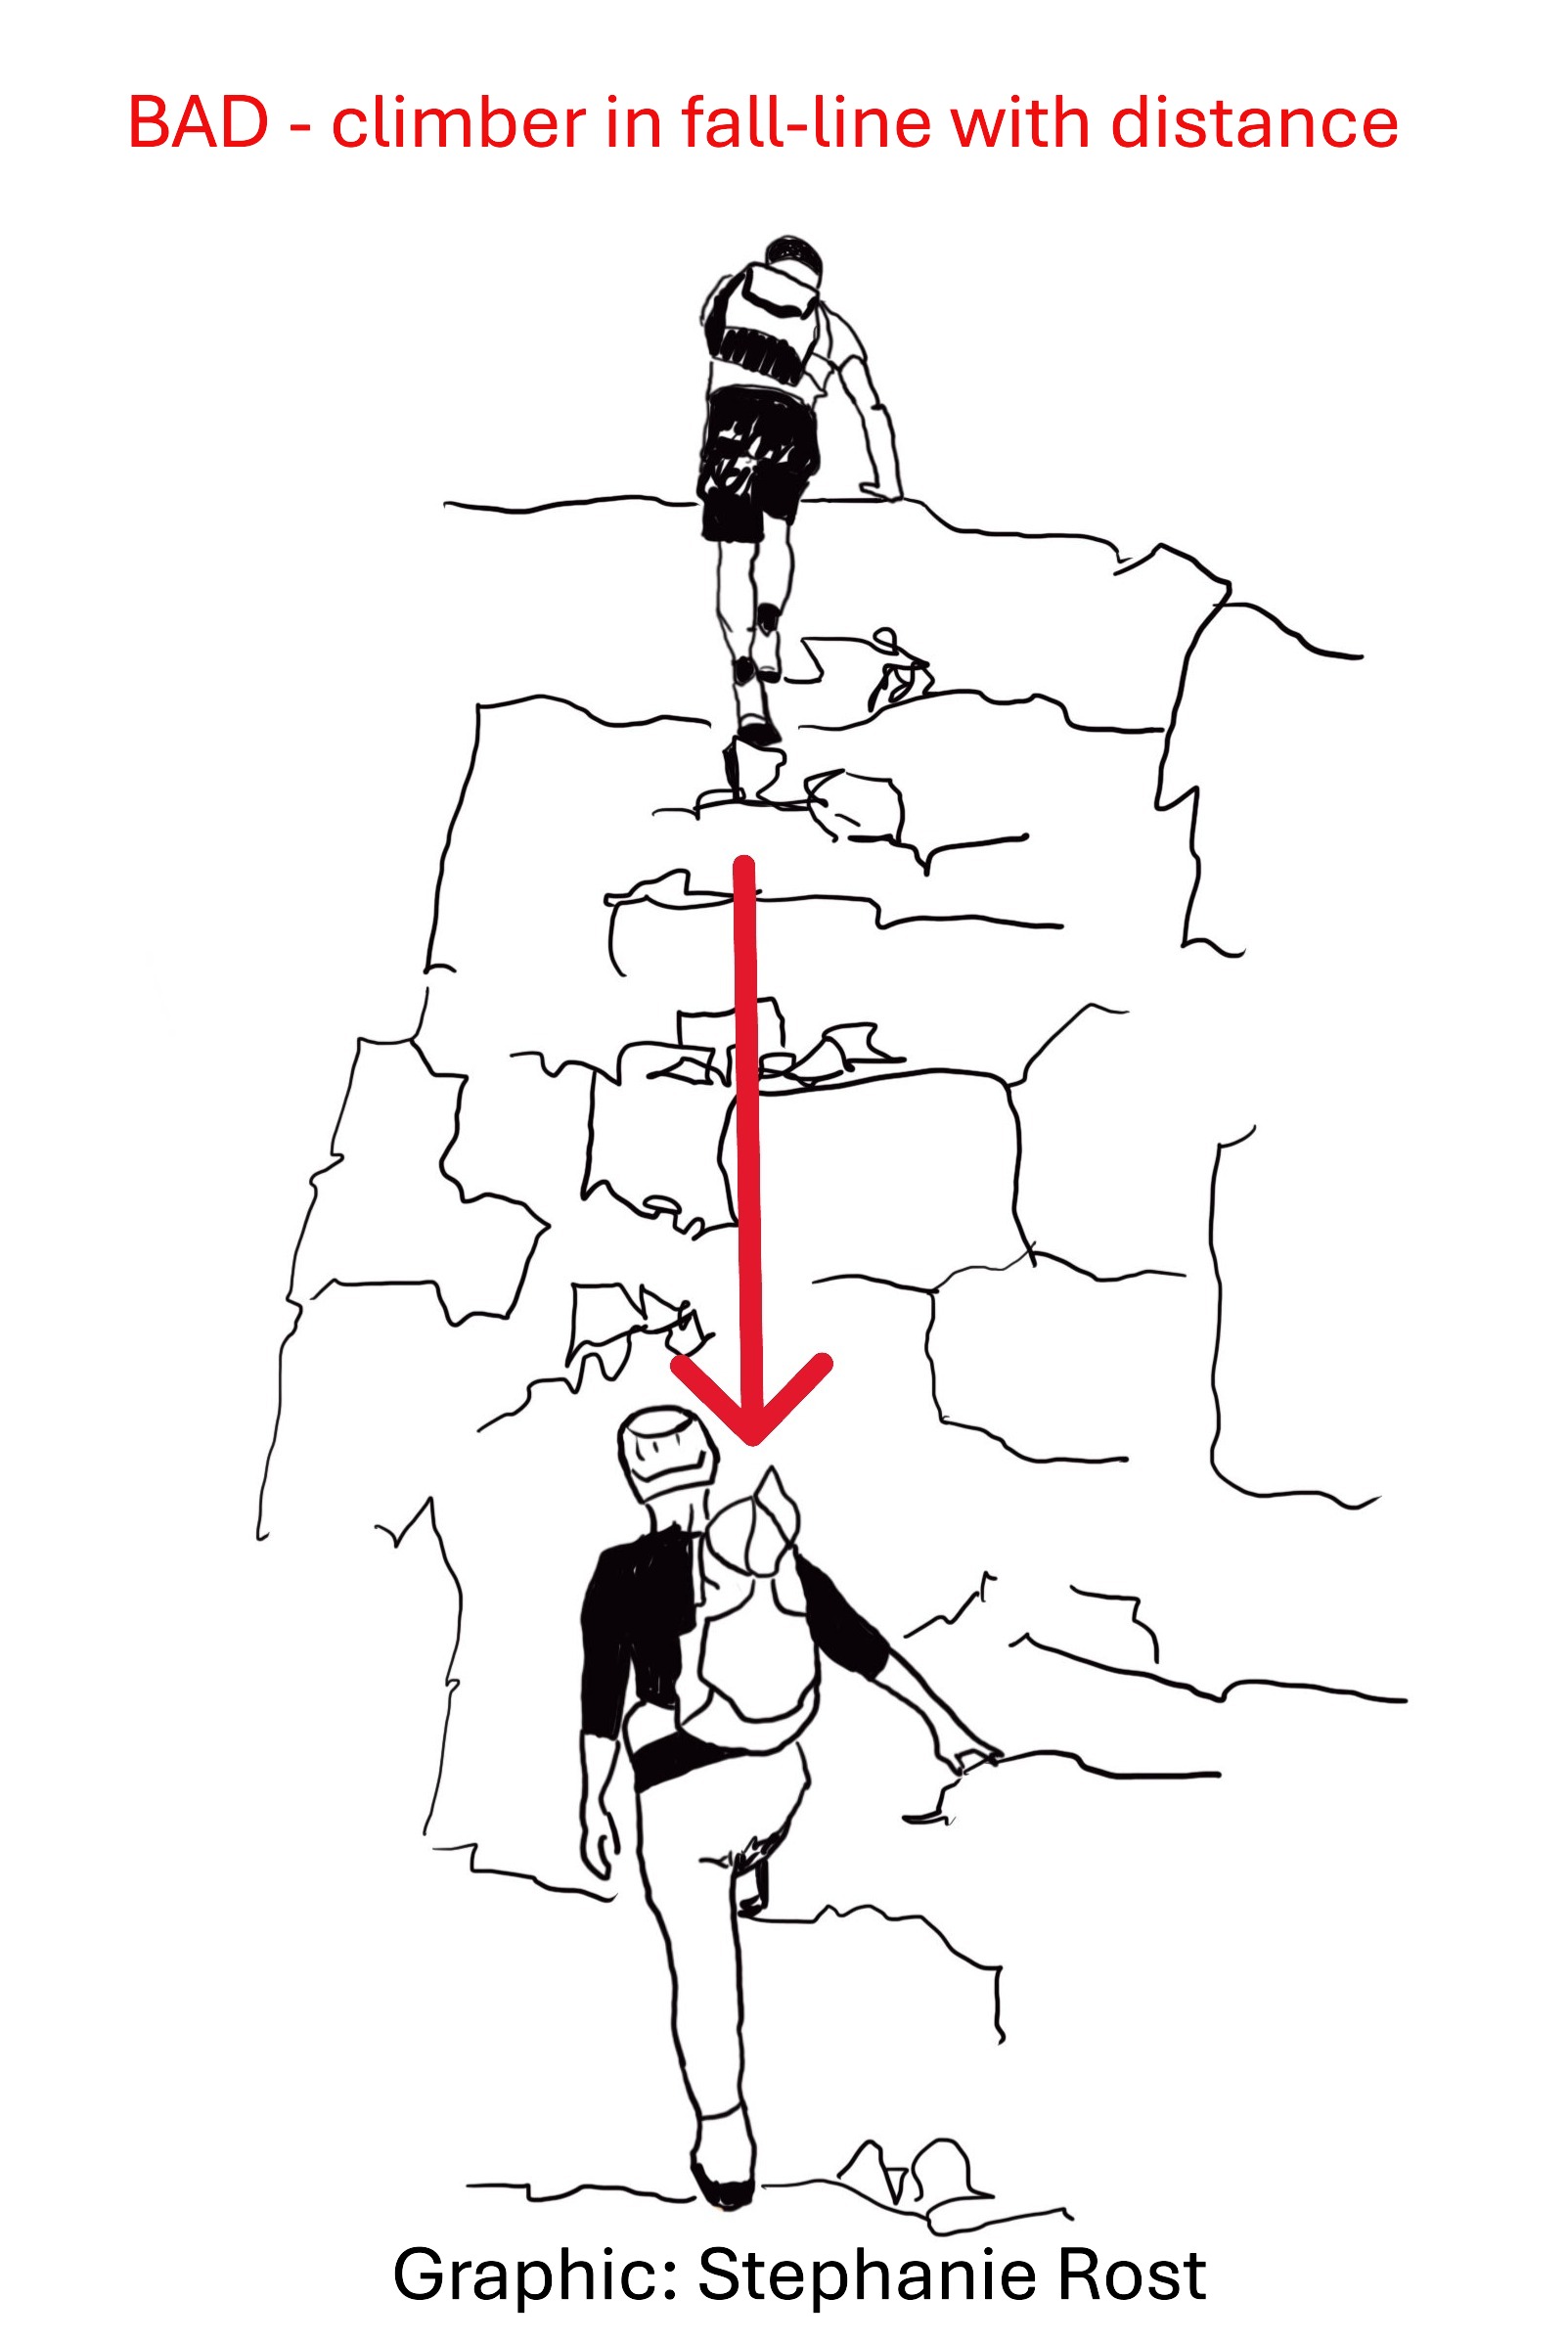
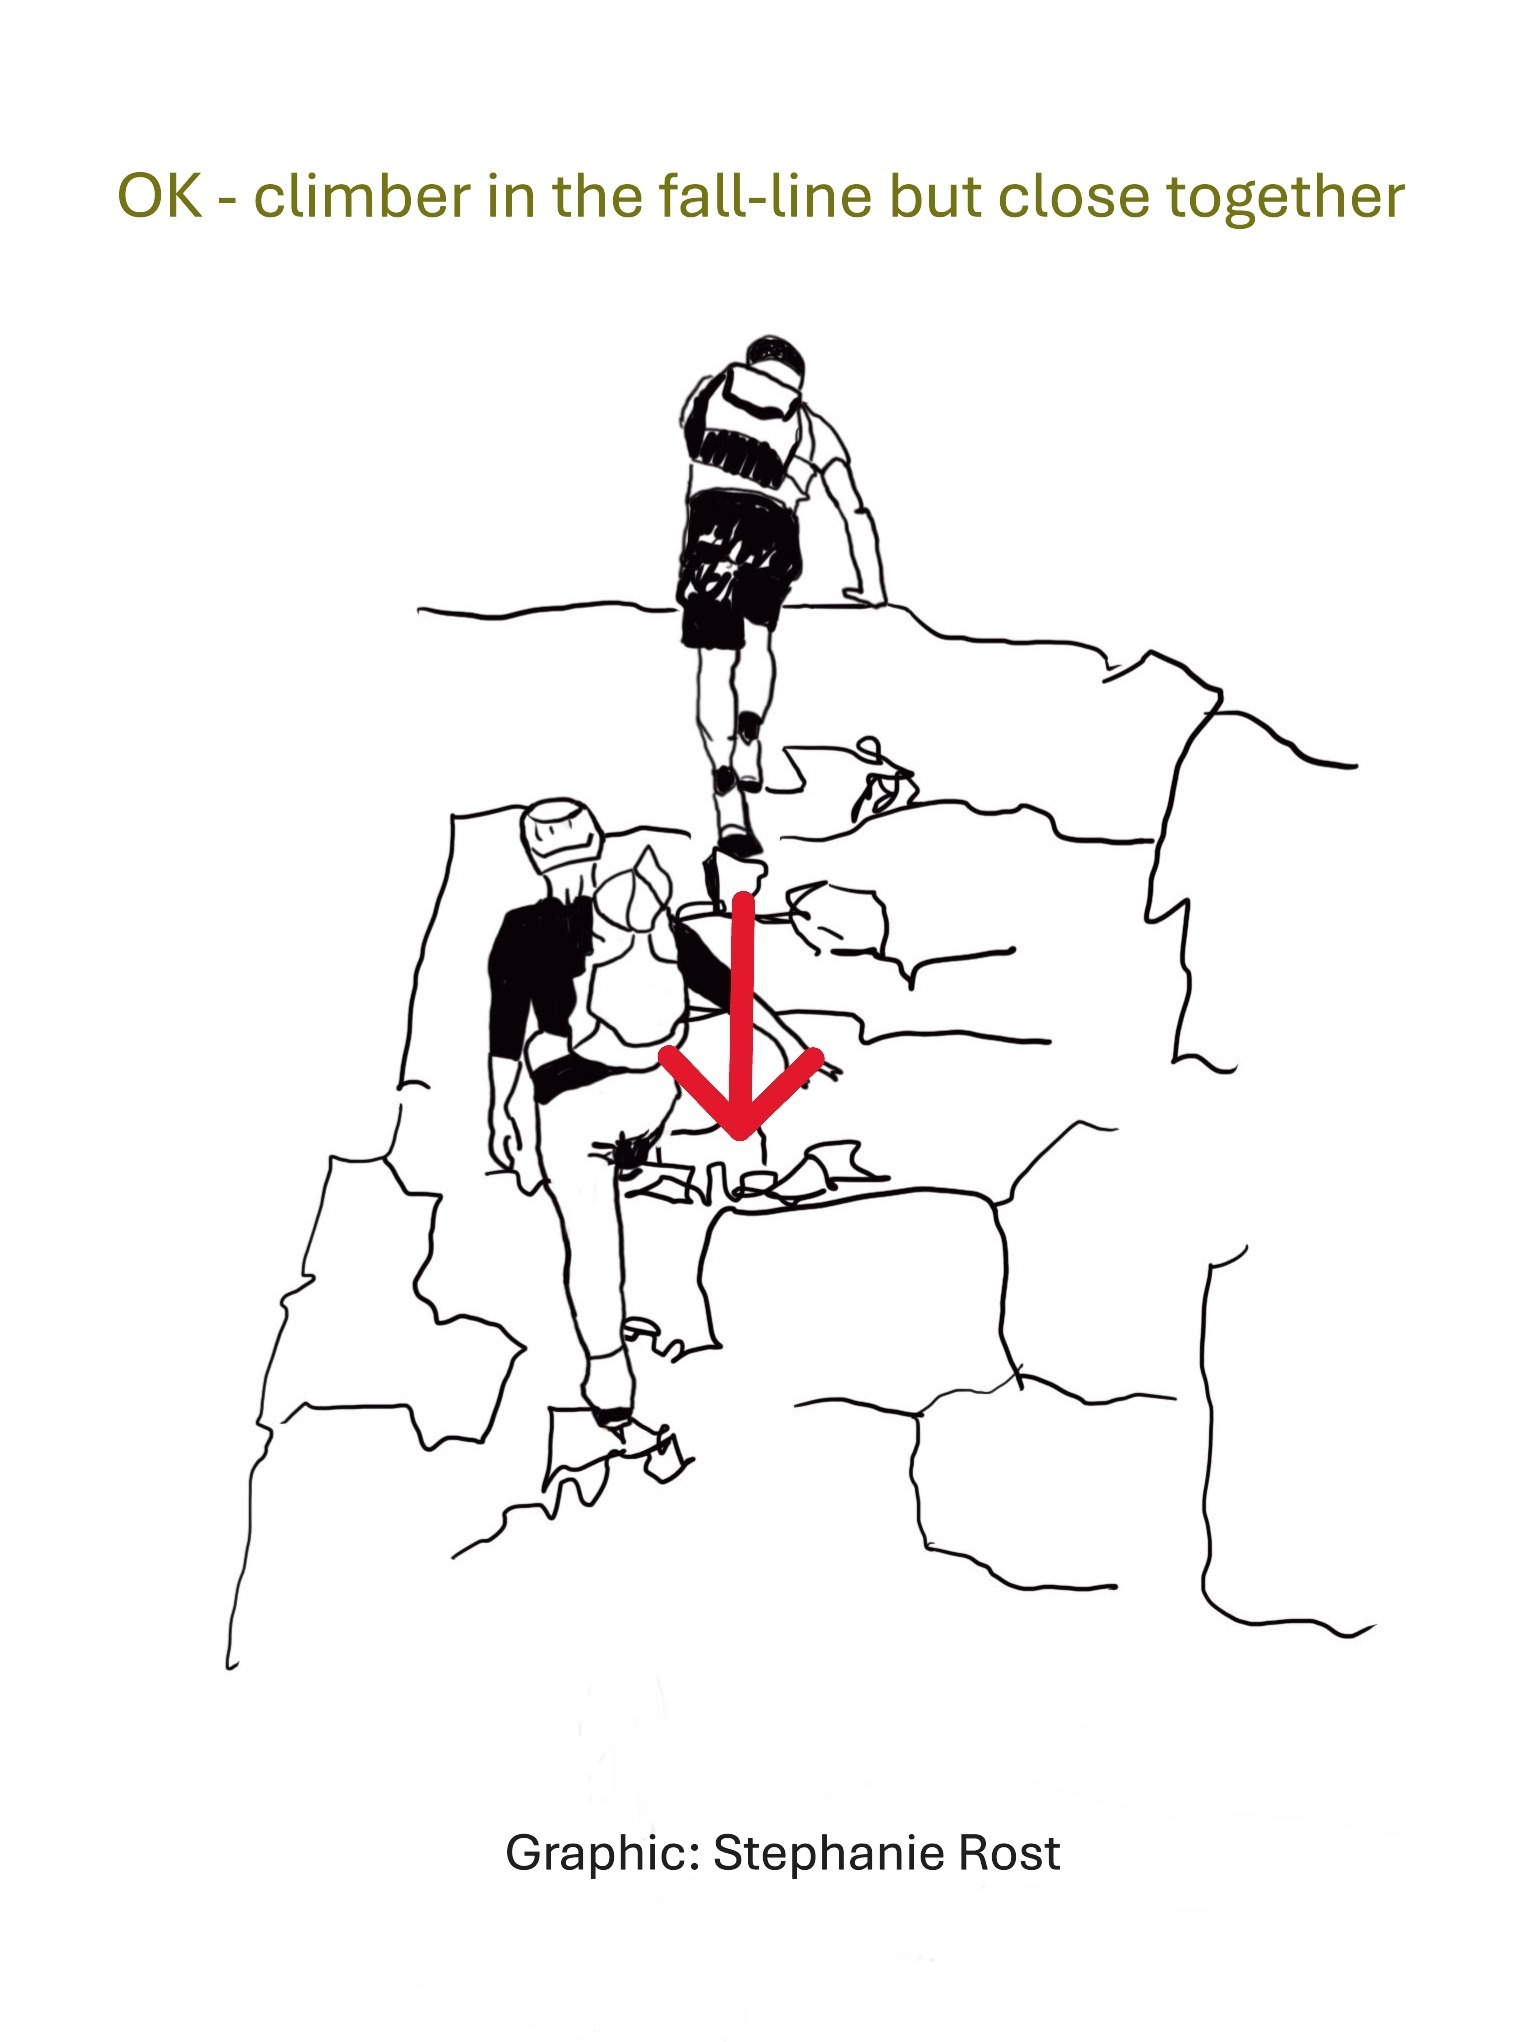
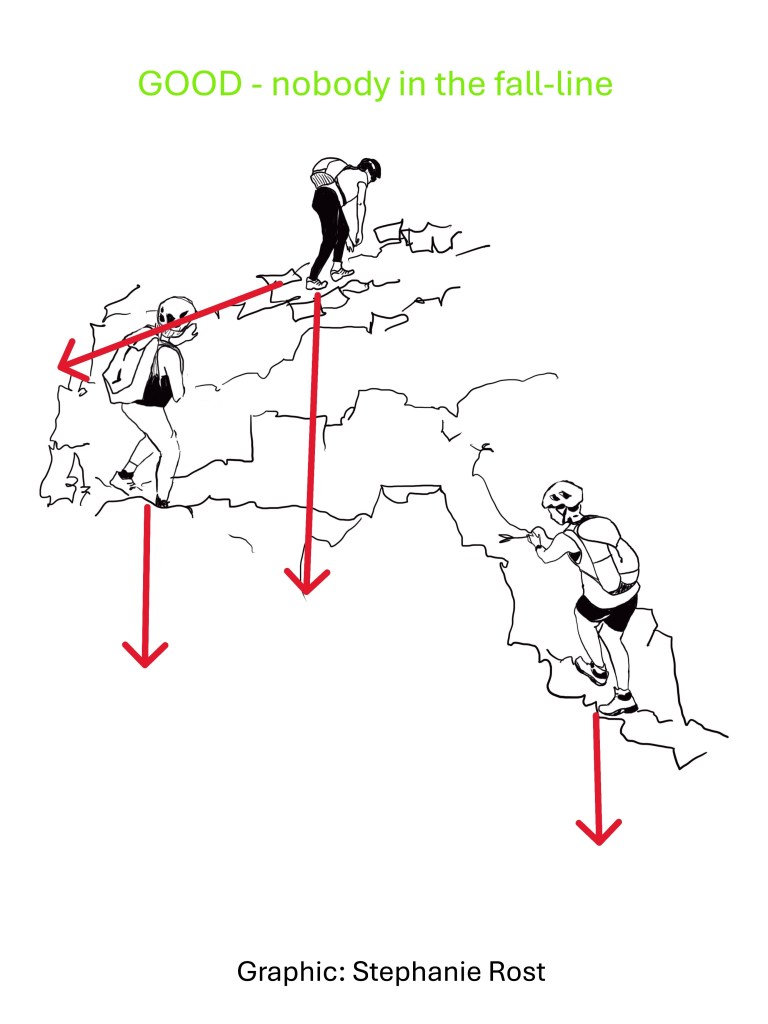
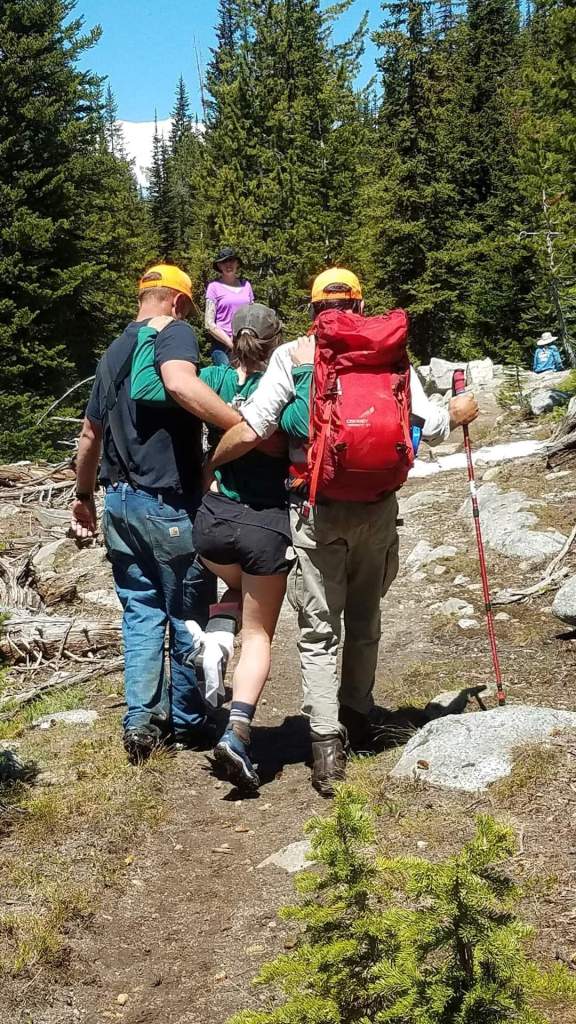
There are 234 named peaks or high points as accepted by the Glacier Mountaineering Society. They’re a great organization if you are looking for a way to join others on a climb or learn more about climbing. Though a summit of most peaks doesn’t require ropes, it must be noted this activity is inherently dangerous. In fact it can be, and has been, DEADLY. One missed step, a slide on a wet rock, or a loose rock pulling out can lead to disaster. Anyone engaging in these types of activities should recognize, and never underestimate, the potential danger involved.

The author on Iceberg Peak photo: Andrew Schnell

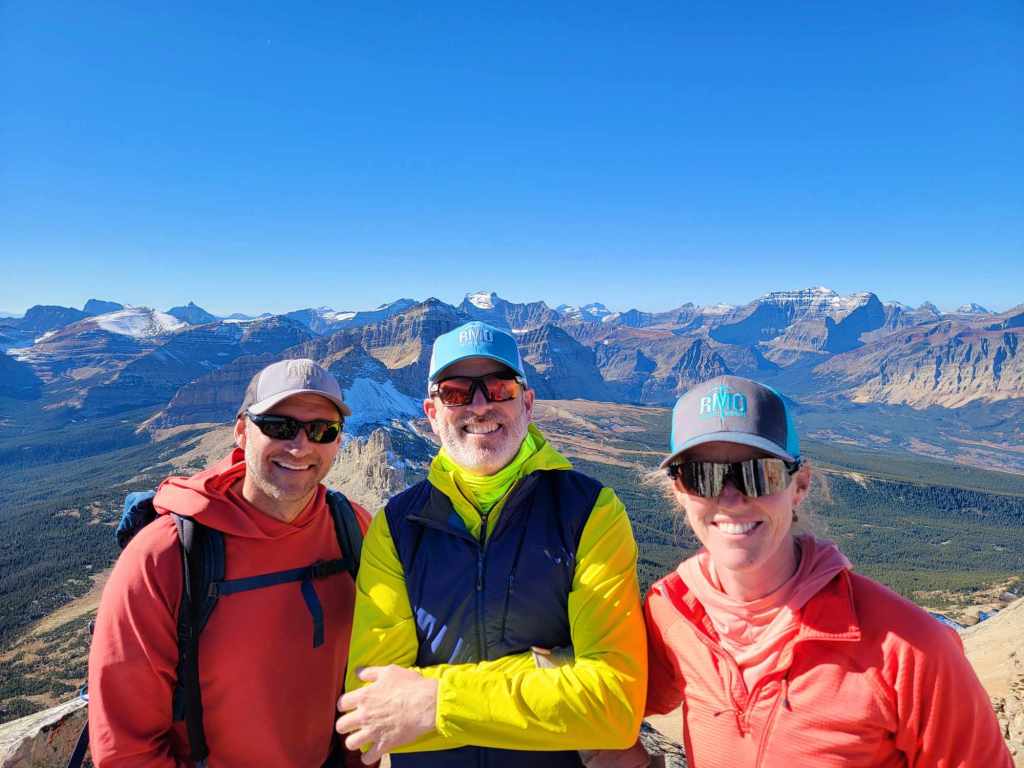
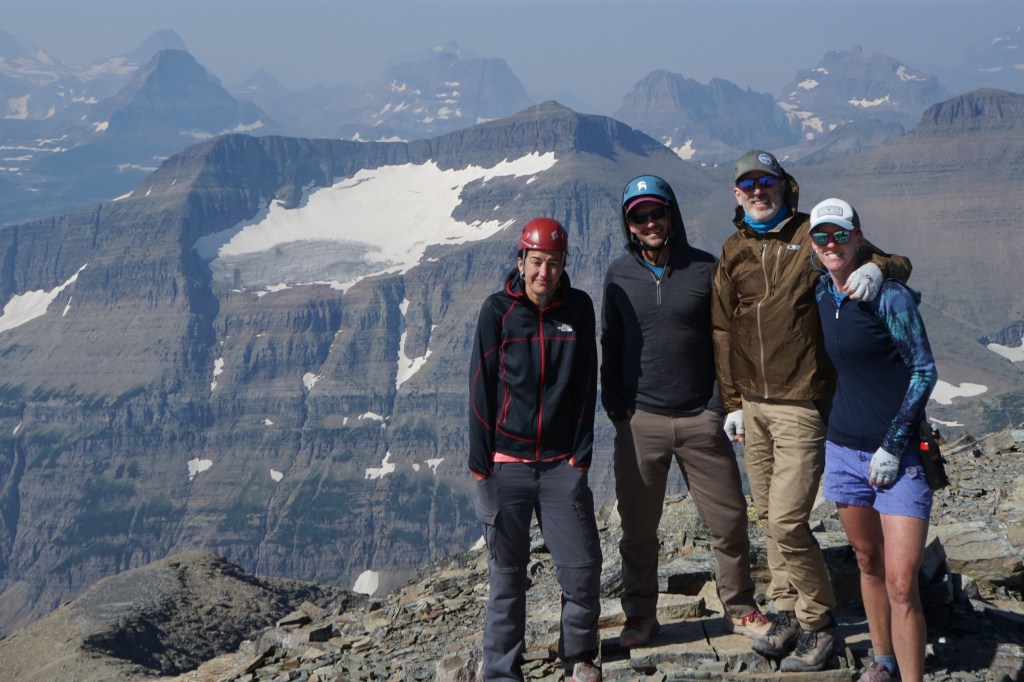
With the risk disclaimer out of the way, now it’s time to talk turkey. I love climbing in Glacier. It’s without question my favorite thing to do. I’ve climbed nearly 200 peaks in the park with about 125 of those being unique (several others were repeated). I enjoy taking experienced climbers with me but I also choose to prioritize taking “newbies.” I think it’s important for those getting started as peak-baggers to find someone with experience to mentor them. This simply helps make climbers safer.

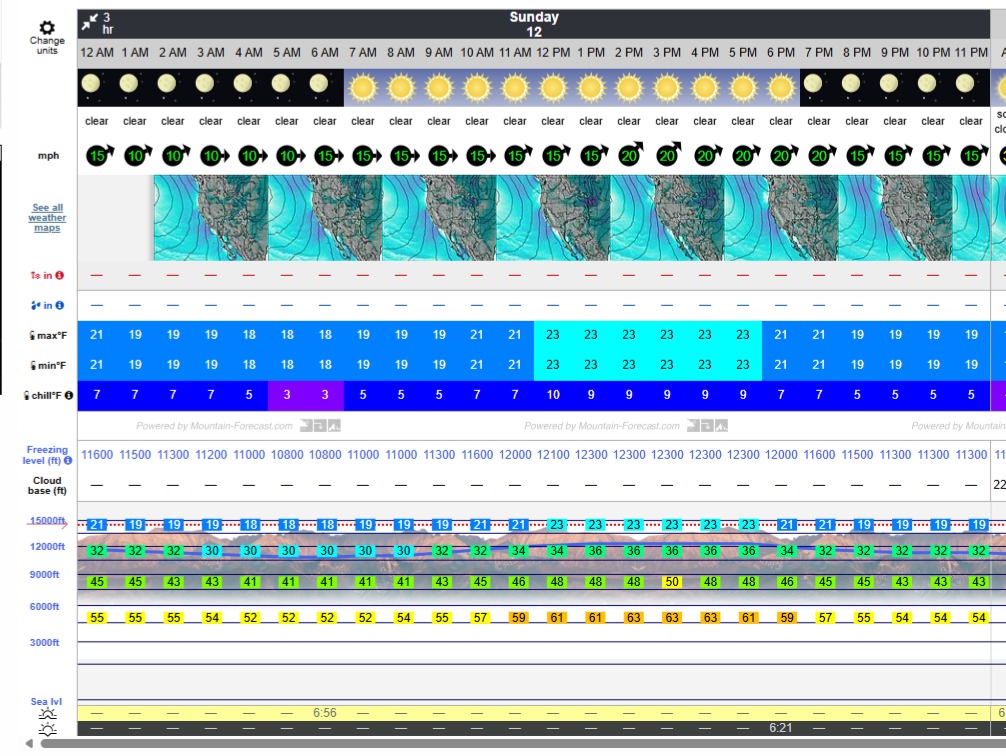
First and foremost I encourage climbers to be prepared. This necessitates an understanding of weather, wildlife, rock conditions, route planning, personal fitness, group dynamics, and the ability to mitigate, retreat, self-rescue, or spend the night. So, what resources are available to help one learn how to climb safely in the park? The two best print sources of this information are A Climber’s Guide to Glacier National Park, by J Gordon Edwards, and the Climb Glacier National Park series by Blake Passmore. These references are loaded with history, geography, geology, route info, and tips on climbing techniques.

People often get route information, often referred to as “beta” from online sources. Two of the most common online sites for beta are mountainproject.com and summitpost.org

And now my two cents-worth about climbing ethics: Please, be a Conservator and not a Consumer. Follow Leave No Trace Ethics. Respect our Wild Places and our Public Lands. Model good stewardship. Follow GNP rules.

Ethics Examples:

  • Pack out your trash, including TP. Bury your poop in a cat hole
  • Don’t build cairns unless absolutely necessary for navigation
  • Don’t trample vegetation/flowers
  • Keep an appropriate distance from wildlife
  • Don’t carve your name on rocks or trees
  • Don’t disturb tribal artifacts or archeological sites
  • Get a permit if it’s required
A climber carefully navigates a narrow, exposed section

The next few parts will have content to help you be a safe and successful climber. This is not a guide book, nor is it to be considered an exhaustive manual of everything you need. It’s just me, imparting some experience, to share the joy of climbing in Glacier National Park. Please continue on to read part 2.
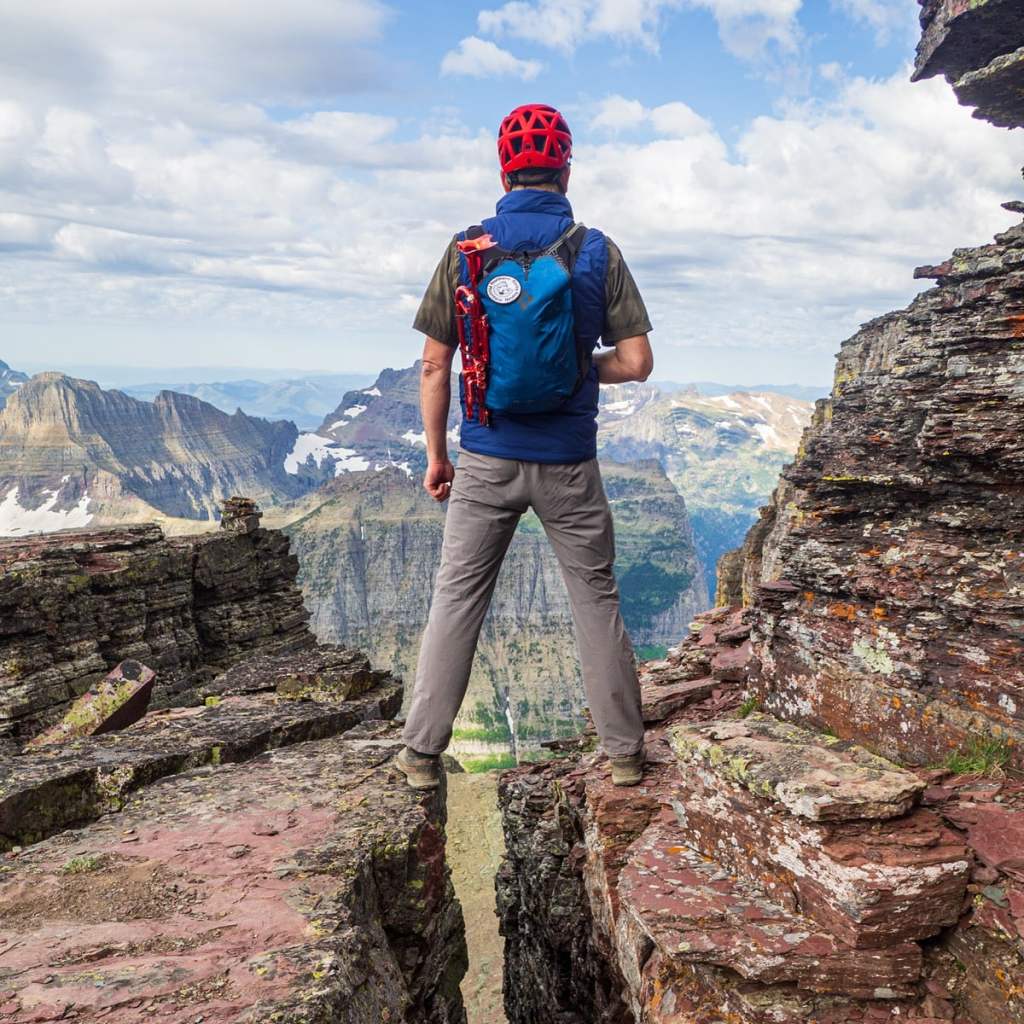
Helmets are COOL!

Climbing, part 3

The Adventure Begins

The author on top of the “Great Cleft”

You’ve looked over some peaks and found one that fits your physical abilities and climbing experience. Your friends are stoked and everyone’s packs are loaded with the essentials. Now it’s time to actually head out and start the adventure.

Did you check the weather forecast? I recommend looking at two weather opinions. Plan for the worst of them. NOAA.GOV is a decent site for basic forecasting. I also use MOUNTAIN-FORECAST.com This is a particularly useful site for climbers. Mountain Forecast will give you the temperature, frost line, and wind speed for three different elevations on a mountain. Recognizing a 20 degree temperature difference from the trail head with 30mph winds at your summit will help you make informed decisions on clothing choices. It can also help keep you aware of potential hazards such as verglas (a thin layer of ice on rock).

An example of mountain-forecast.com display

You’re almost ready to get to the trail head. Just one more very important thing left to do… write up your itinerary and leave it with a friend. In the unlikely event of a mishap (remember, always plan for the worst) a climbing plan will help bring rescue personnel to you faster and with the appropriate resources. It doesn’t have to be a novel, but the more information that is available on your itinerary, the better prepared an emergency response can be.

  • Names and contact info of everyone in your party (include InReach info)
  • Description of clothing and pack colors (I always recommend bright clothing)
  • Trail head name and departure time
  • Vehicle description(s) at trail head
  • Planned route. Include any expected hazards
  • Turn-around time (set one and stick to it!)
  • Planned exit time and location
  • List of contact names and numbers in case of emergency

You’ve hit the trail and started your adventure for the day. At some point you will head “off-trail” and make an ascent toward the peak. You’re likely to encounter scree (a layer of small loose rocks). This is a good time to put on gaiters and bust out the trekking poles. Try to avoid scree and stick to solid rock on the way up. Scree makes for a much more enjoyable descent. You’ll soon learn to love “scree skiing.” Take this opportunity to scout the route above you.

Soon enough you will be in classic GNP cliff bands and ledges. Now is a good time to put on that HELMET. This is the most enjoyable part in my humble opinion. I love getting hands on rock and scrambling through ledges and gulleys. There are a few things to keep in mind during this part: 1. Route Finding, 2. Spacing, 3. Rockfall, 4. Pace

Route finding within cliff bands can be challenging. It can be difficult to see what’s directly above you. If you choose a route up that gets you “cliffed-out” you will have to go back down a bit and find another route. Heaven forbid you get so cliffed-out you can’t even descend at all. Keep in mind that you want a route that will also be easy to descend. Ascending and down-climbing are different beasts. If you encounter an area of difficulty that is greater than the route description… you are probably off route and should be heading in a different direction.

Spacing of climbers on steep or vertical terrain is a critical component of safe climbing. This is where every member of the team needs to be paying attention. The rock quality in Glacier Park is horrible and you WILL knock rocks down. Understanding gravity and the “fall-line” will help keep your team safe. The goal with spacing is to either keep all climbers out of the fall-line or stay so close together that a tumbling rock would not have any consequential speed.

What do you notice here? How is the spacing?

Keep an eye on your team. Are they lagging behind? Do you notice apprehension about exposure? Are they taking undue risks? Are they staying hydrated? These are things to consider when assessing whether or not to continue with a climb. Never be afraid to speak up and voice a concern. Some times the best decision is to simply call it a day and turn around.

When it comes to the pace of the climbing team I like to use a benchmark of 1,000′ per hour. If your team is slower than that it’s time to do some math and figure out if you will make it to the top before your turnaround time. Along these lines I also have some recommendations for team endurance:

Every hour of heavy exertion or 1,000′ elevation gain (click arrow):

Take a quick break…

Eat something, drink something

I suggest ~200 calories. Include some carbs so you don’t BONK

Reassess team fitness and dynamics

Reassess weather

Congratulations, you made it to the summit! Now it’s time to head down to the trail head. This is the time for the highest risk of an accident. Your team is possibly mentally and physically fatigued, maybe even dehydrated. Help each other out with reminders on safety.

Did you make it back to the trail head? Most likely you did and it’s time to celebrate with a burger or pizza, and an ice cold beverage. Of course the Apres Climb choice of a burger versus pizza has historically been a close battle. But what if something went awry and, for example someone on your team broke an ankle? Are you prepared to self-rescue? I will leave you with this dilemma so you can mentally rehearse the many “what if?” scenarios you may encounter on a climb.

For me… I look forward to a greasy cheeseburger and a pint of scotch ale.