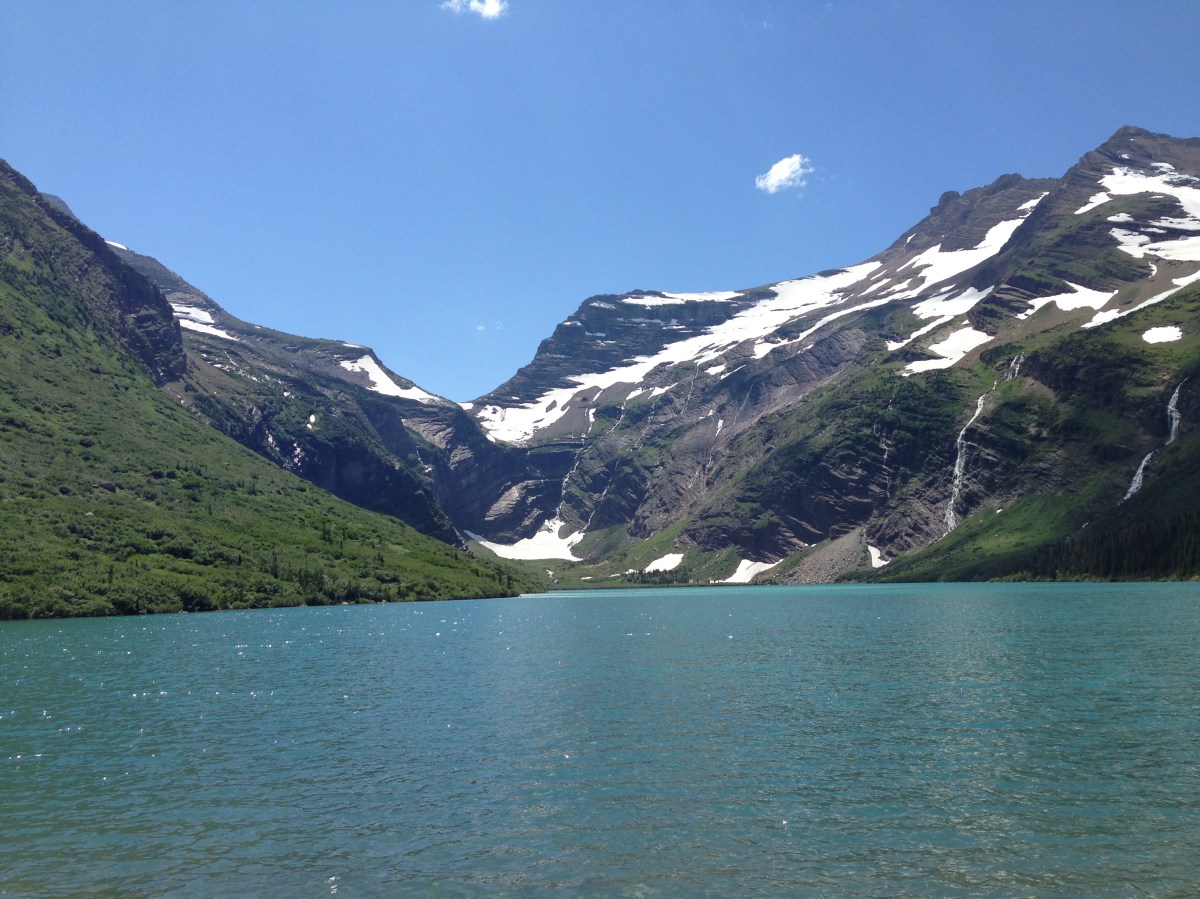
Part 1; WATER 💦
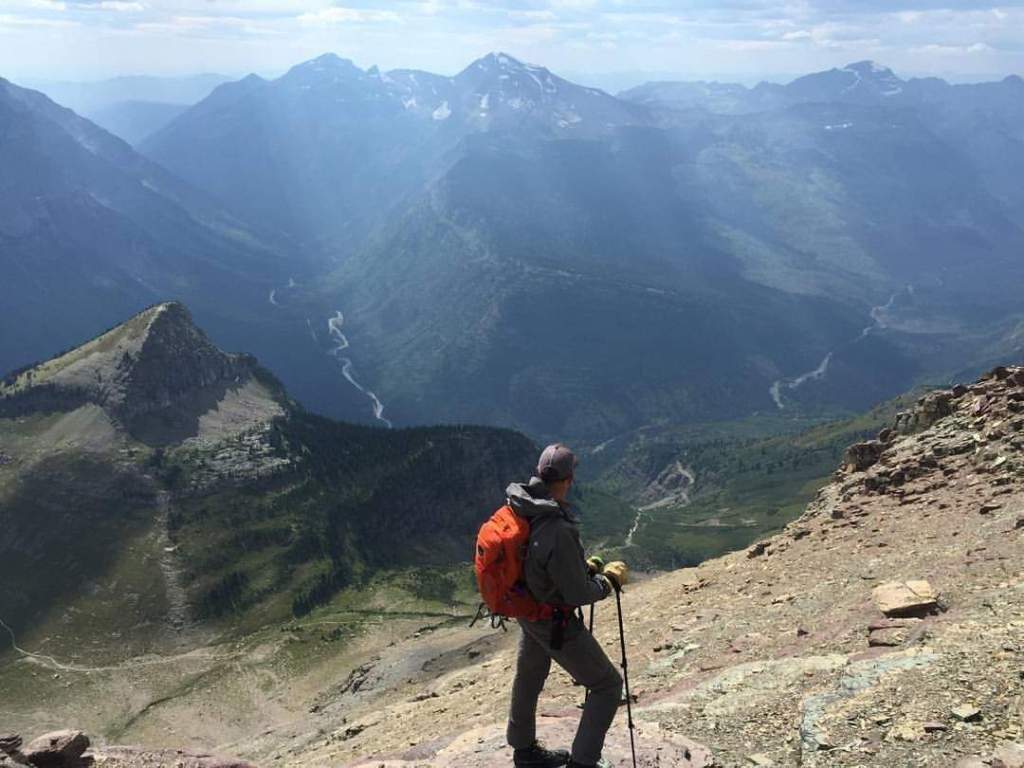
TAKE PLENTY or be prepared to filter. On hot days🌡, exposed trails without shade, and when exerting you might need up to 1L/hr to stay hydrated. I take 3-4L and a filter on every day hike and generally that’s adequate. ☀️
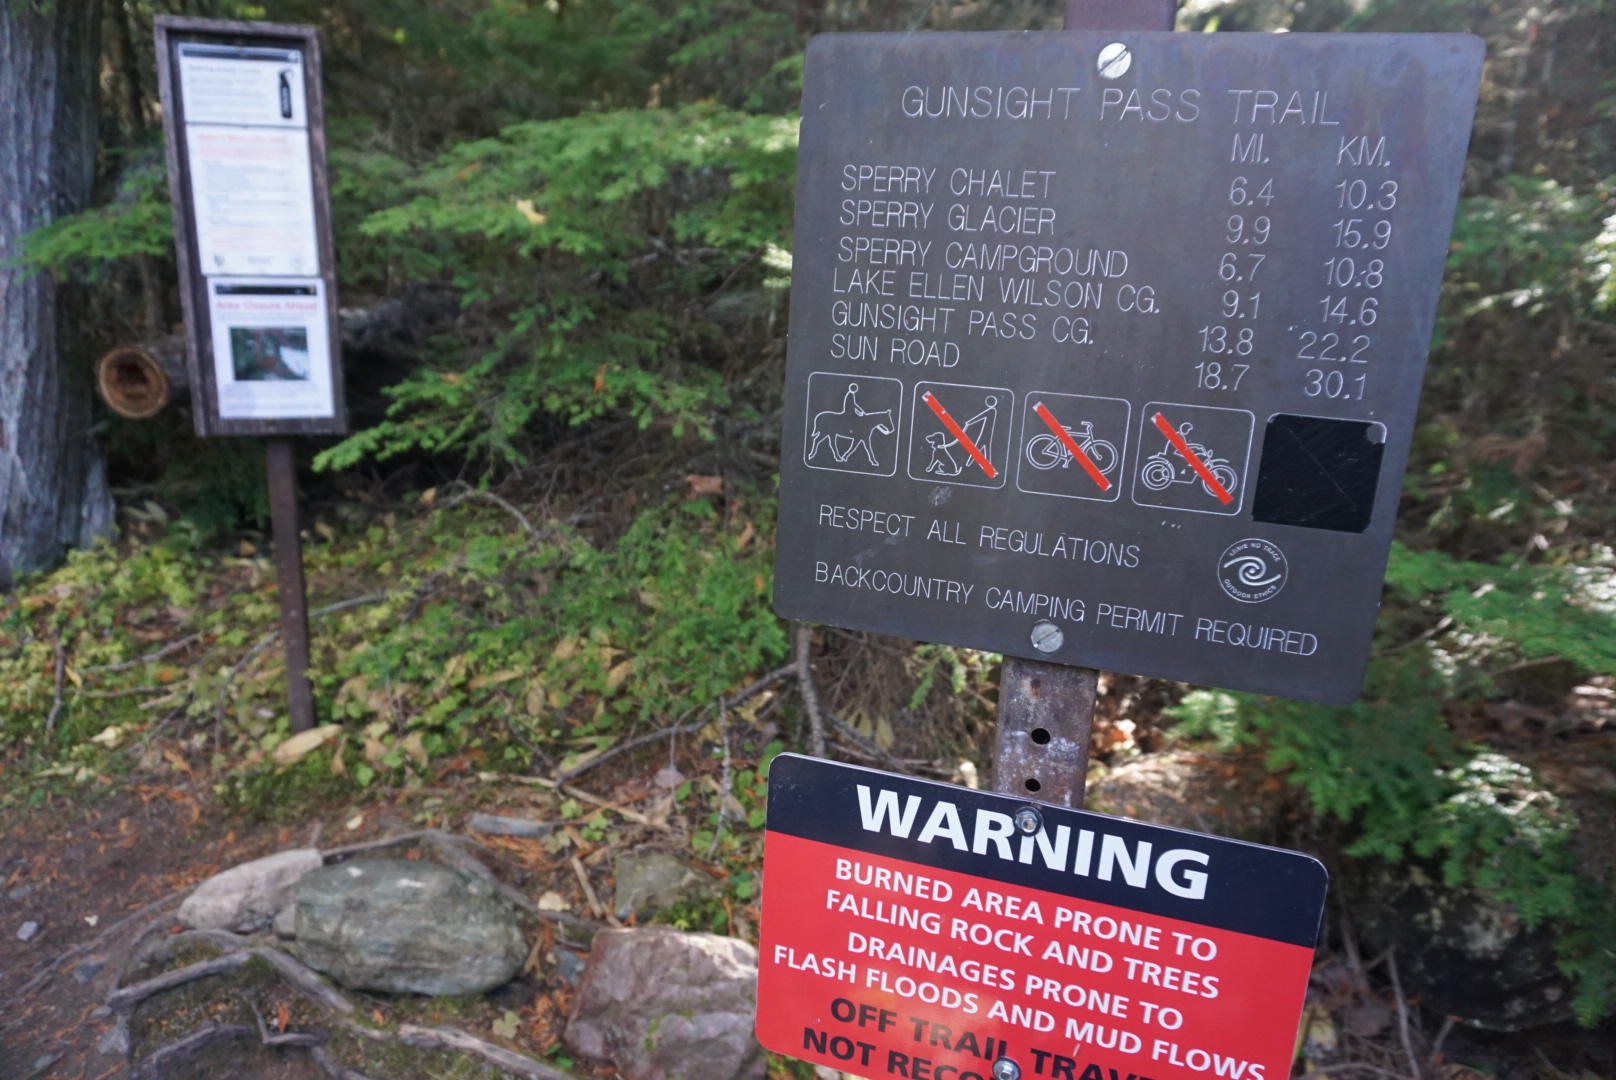
(It usually takes a minimum of 6 rangers to evacuate someone from a trail. One year we had 12 medical evacuations in 12 days on the Highline Trail from dehydration)
Part 2; LAYERS
On any given day the park can see rain, sun, snow, sleet, graupel, gale force winds etc.. be prepared for any and all of these.
Layering is always the best choice. Choose materials that wick moisture and breath well. No cotton or jeans, EVER.
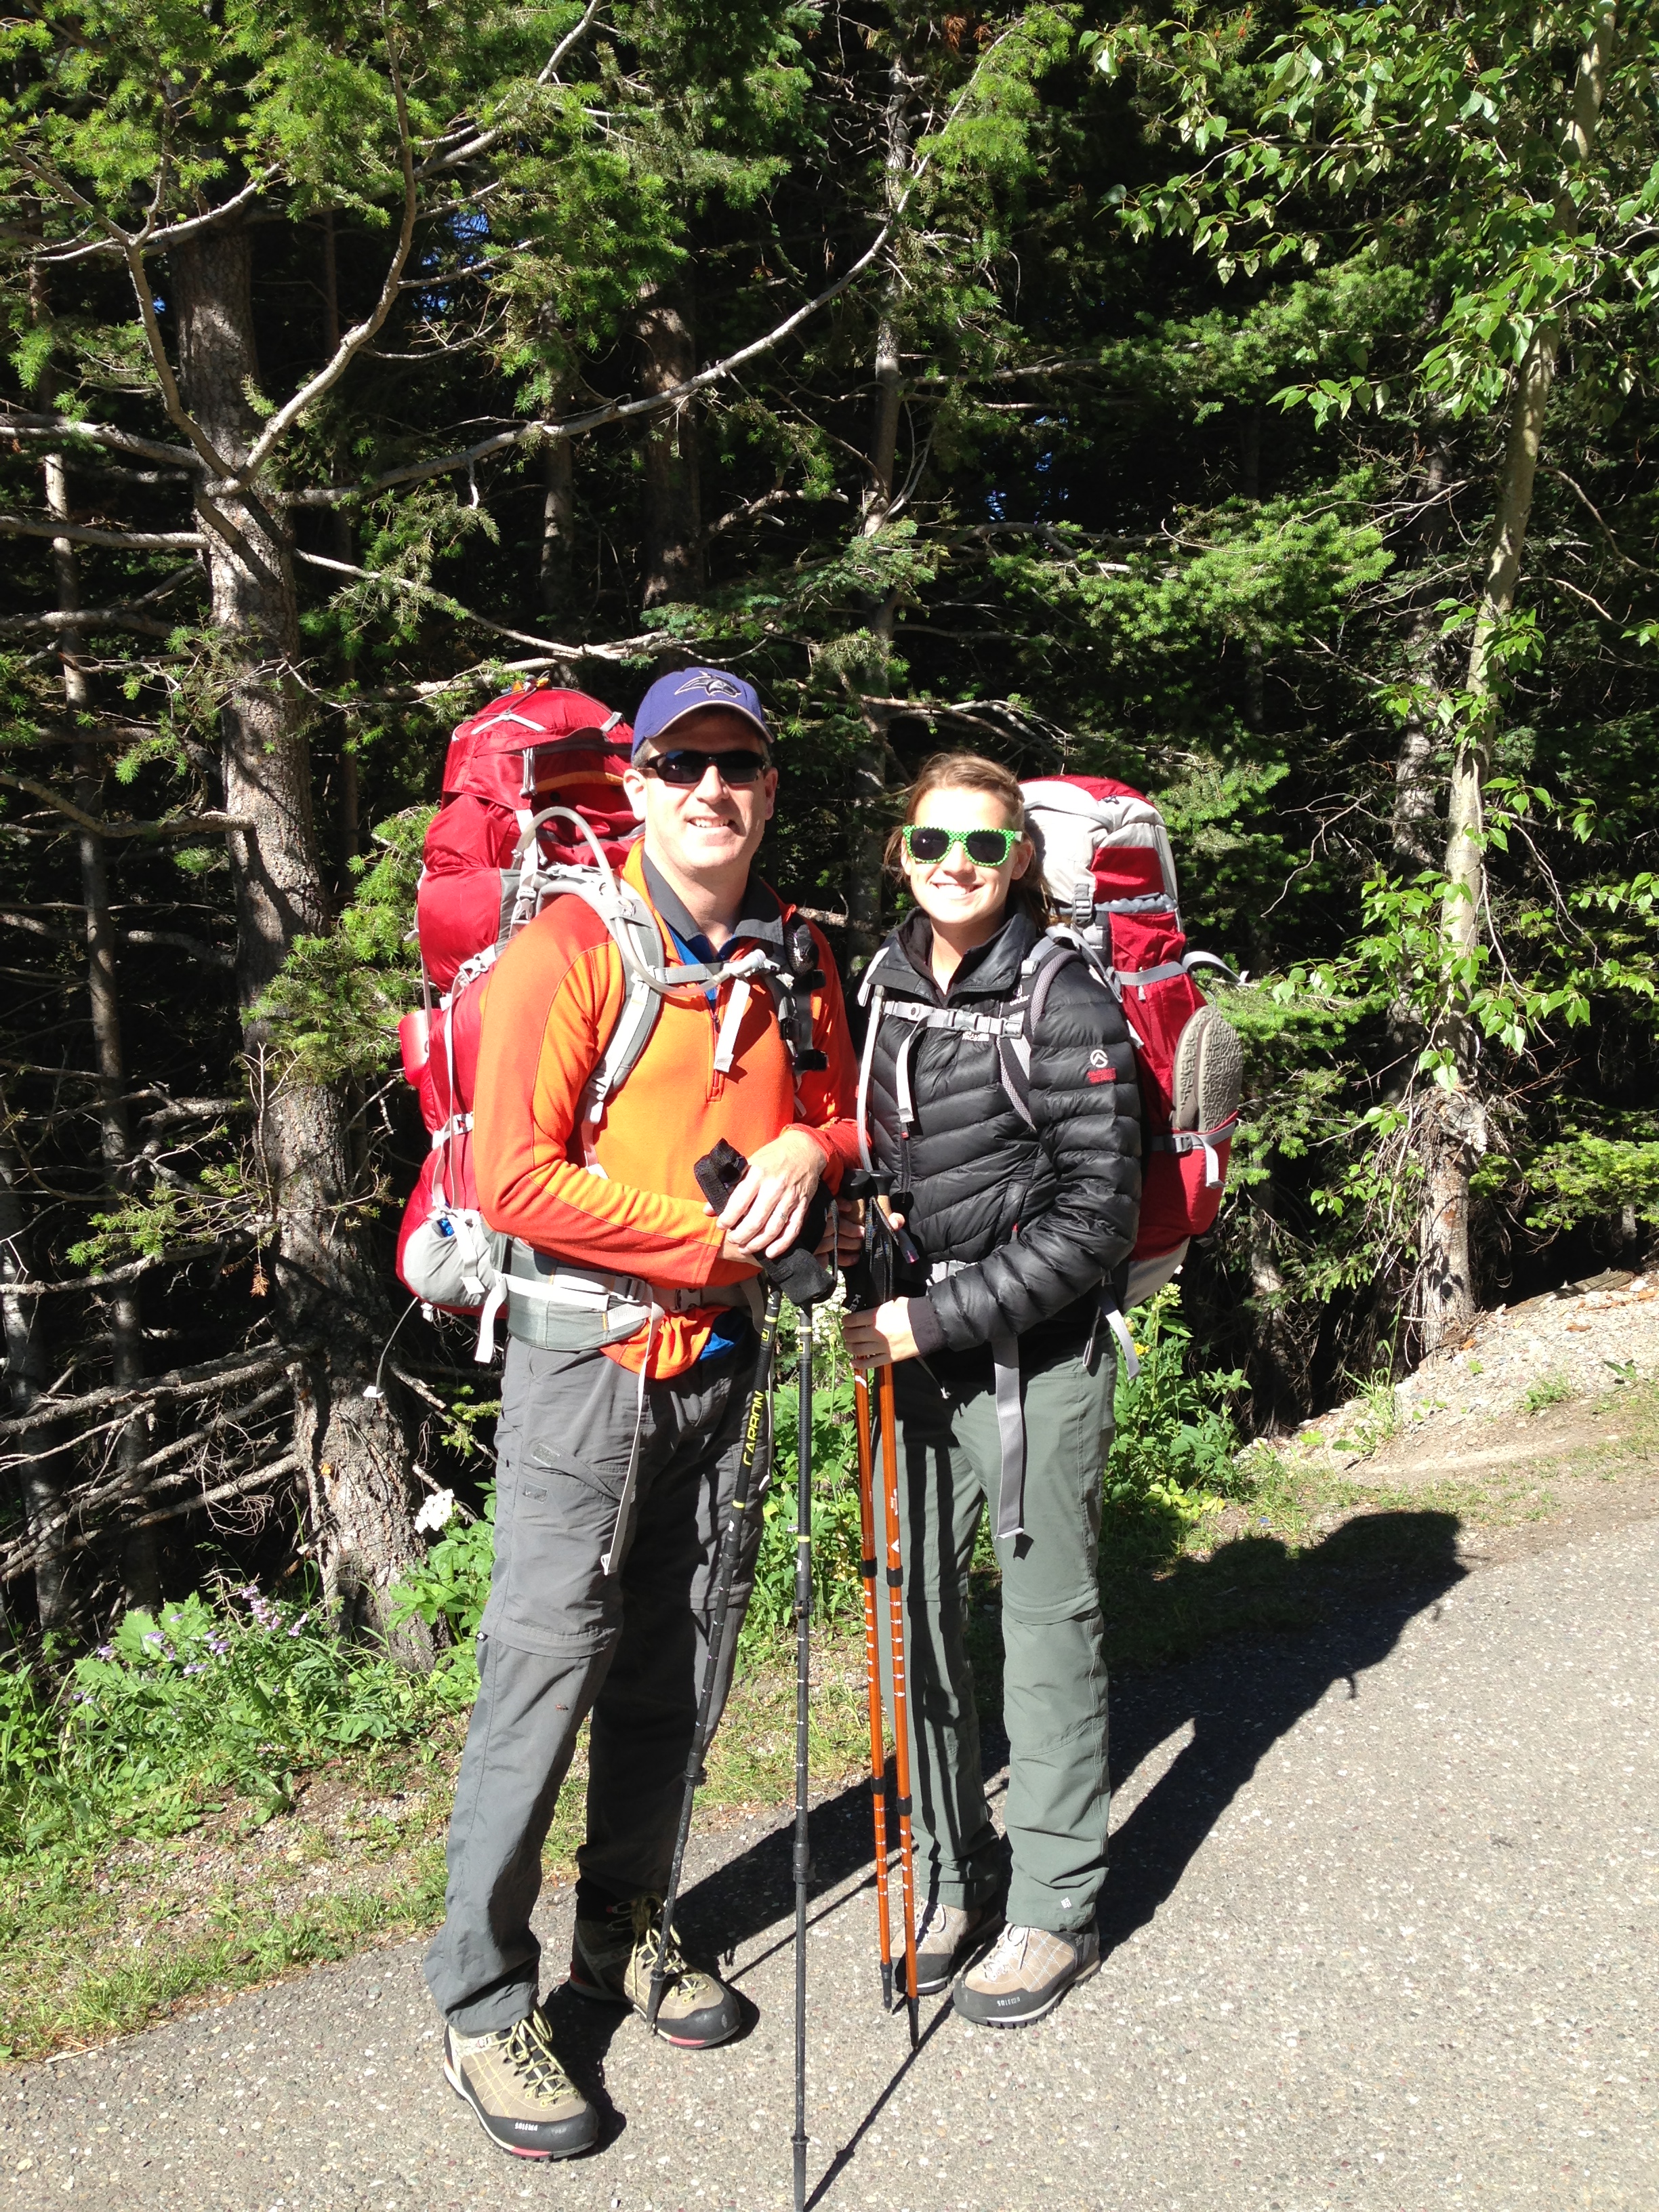
So, top to bottom:
*A sun hat ☀️to cool you or a light beanie to warm you. A “buff” type layer can do both.
*Sunglasses
*Sunscreen can also help with windburn.
*Base layer shirt that is thin and wicks moisture away. If thin enough a long sleeve is good for sun protection and won’t over heat you. Next layer is light insulation such as thin fleece, something for just a little added warmth on a chilly day. Third layer is a bit thicker like Polartec or moderate fleece. Top layer is for wind and light moisture protection (softshell).
*Shoulder seasons and winter ⛄ a puffy is often needed. Puffies (lightweight but highly insulated air trapping jackets) are useful when you stop moving but are cumbersome when you’re active. Down is ideal because it has the most warmth-to-weight ratio. But down is not a good active layer because if you sweat and the down gets wet you lose all of the insulative properties❄
*For rain, snow, and high winds🌬 you need a hard shell outer layer.🌧 Technology in modern jackets allows them to be waterproof, breathable, and light. (Pit zips are your friend!).
*Now you have several layers of which you can use any combination to adjust for conditions and comfort👍
*Thin gloves are nice for wind protection. They also help prevent blisters when using trekking poles. A second waterproof pair for rain is nice to have.
*🚶♂️Pants should be light, stretchy, and breathable. Don’t overdo insulation here because legs stay warm when moving and your core is where most insulation should go. Shorts are fine if you know the conditions will be warm and consistent during your hike. But I recommend a pair of pants to throw on if needed. Rain pants are helpful in continuous or heavy rainfall but can make you feel like you’re in a sauna if not well ventilated.
Part 3; FOOTWEAR
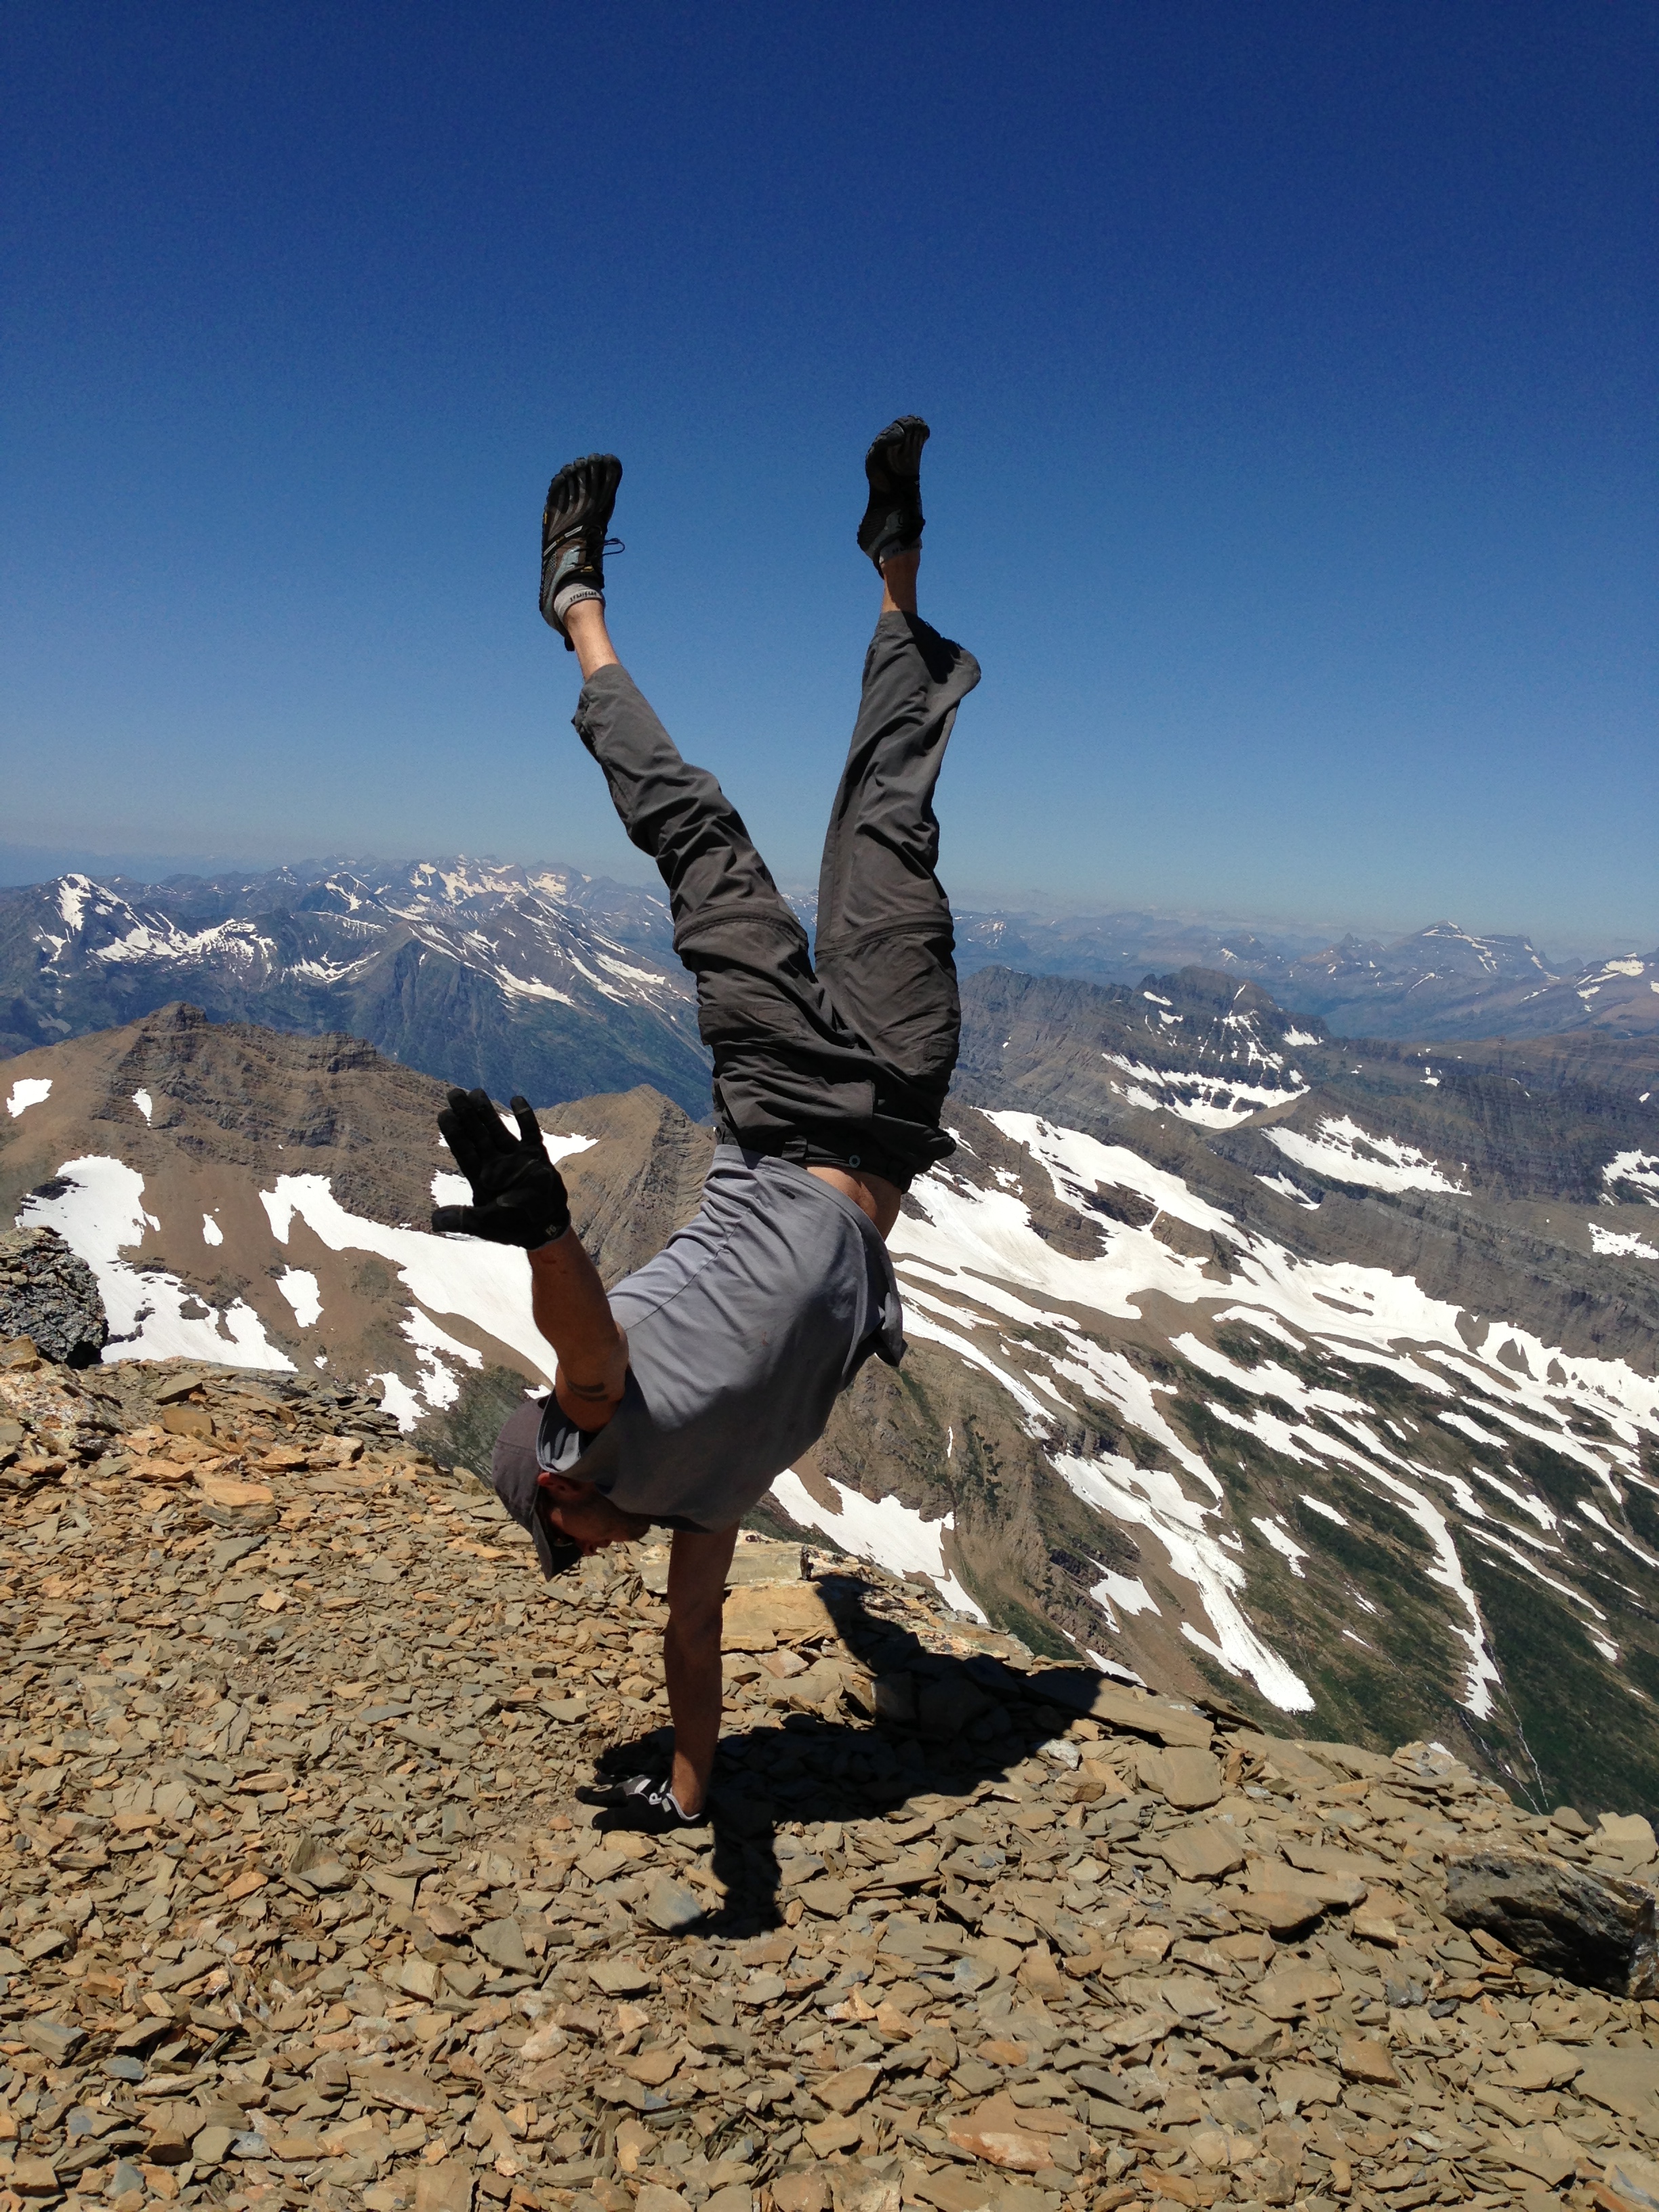
I’ll ruffle a few feathers here. Training and experience has led to my opinions and advice, and you may take it or leave it😎
Please see Part 1 where it mentions the many resources it takes to affect a rescue when unprepared. You don’t want to be that person🚫
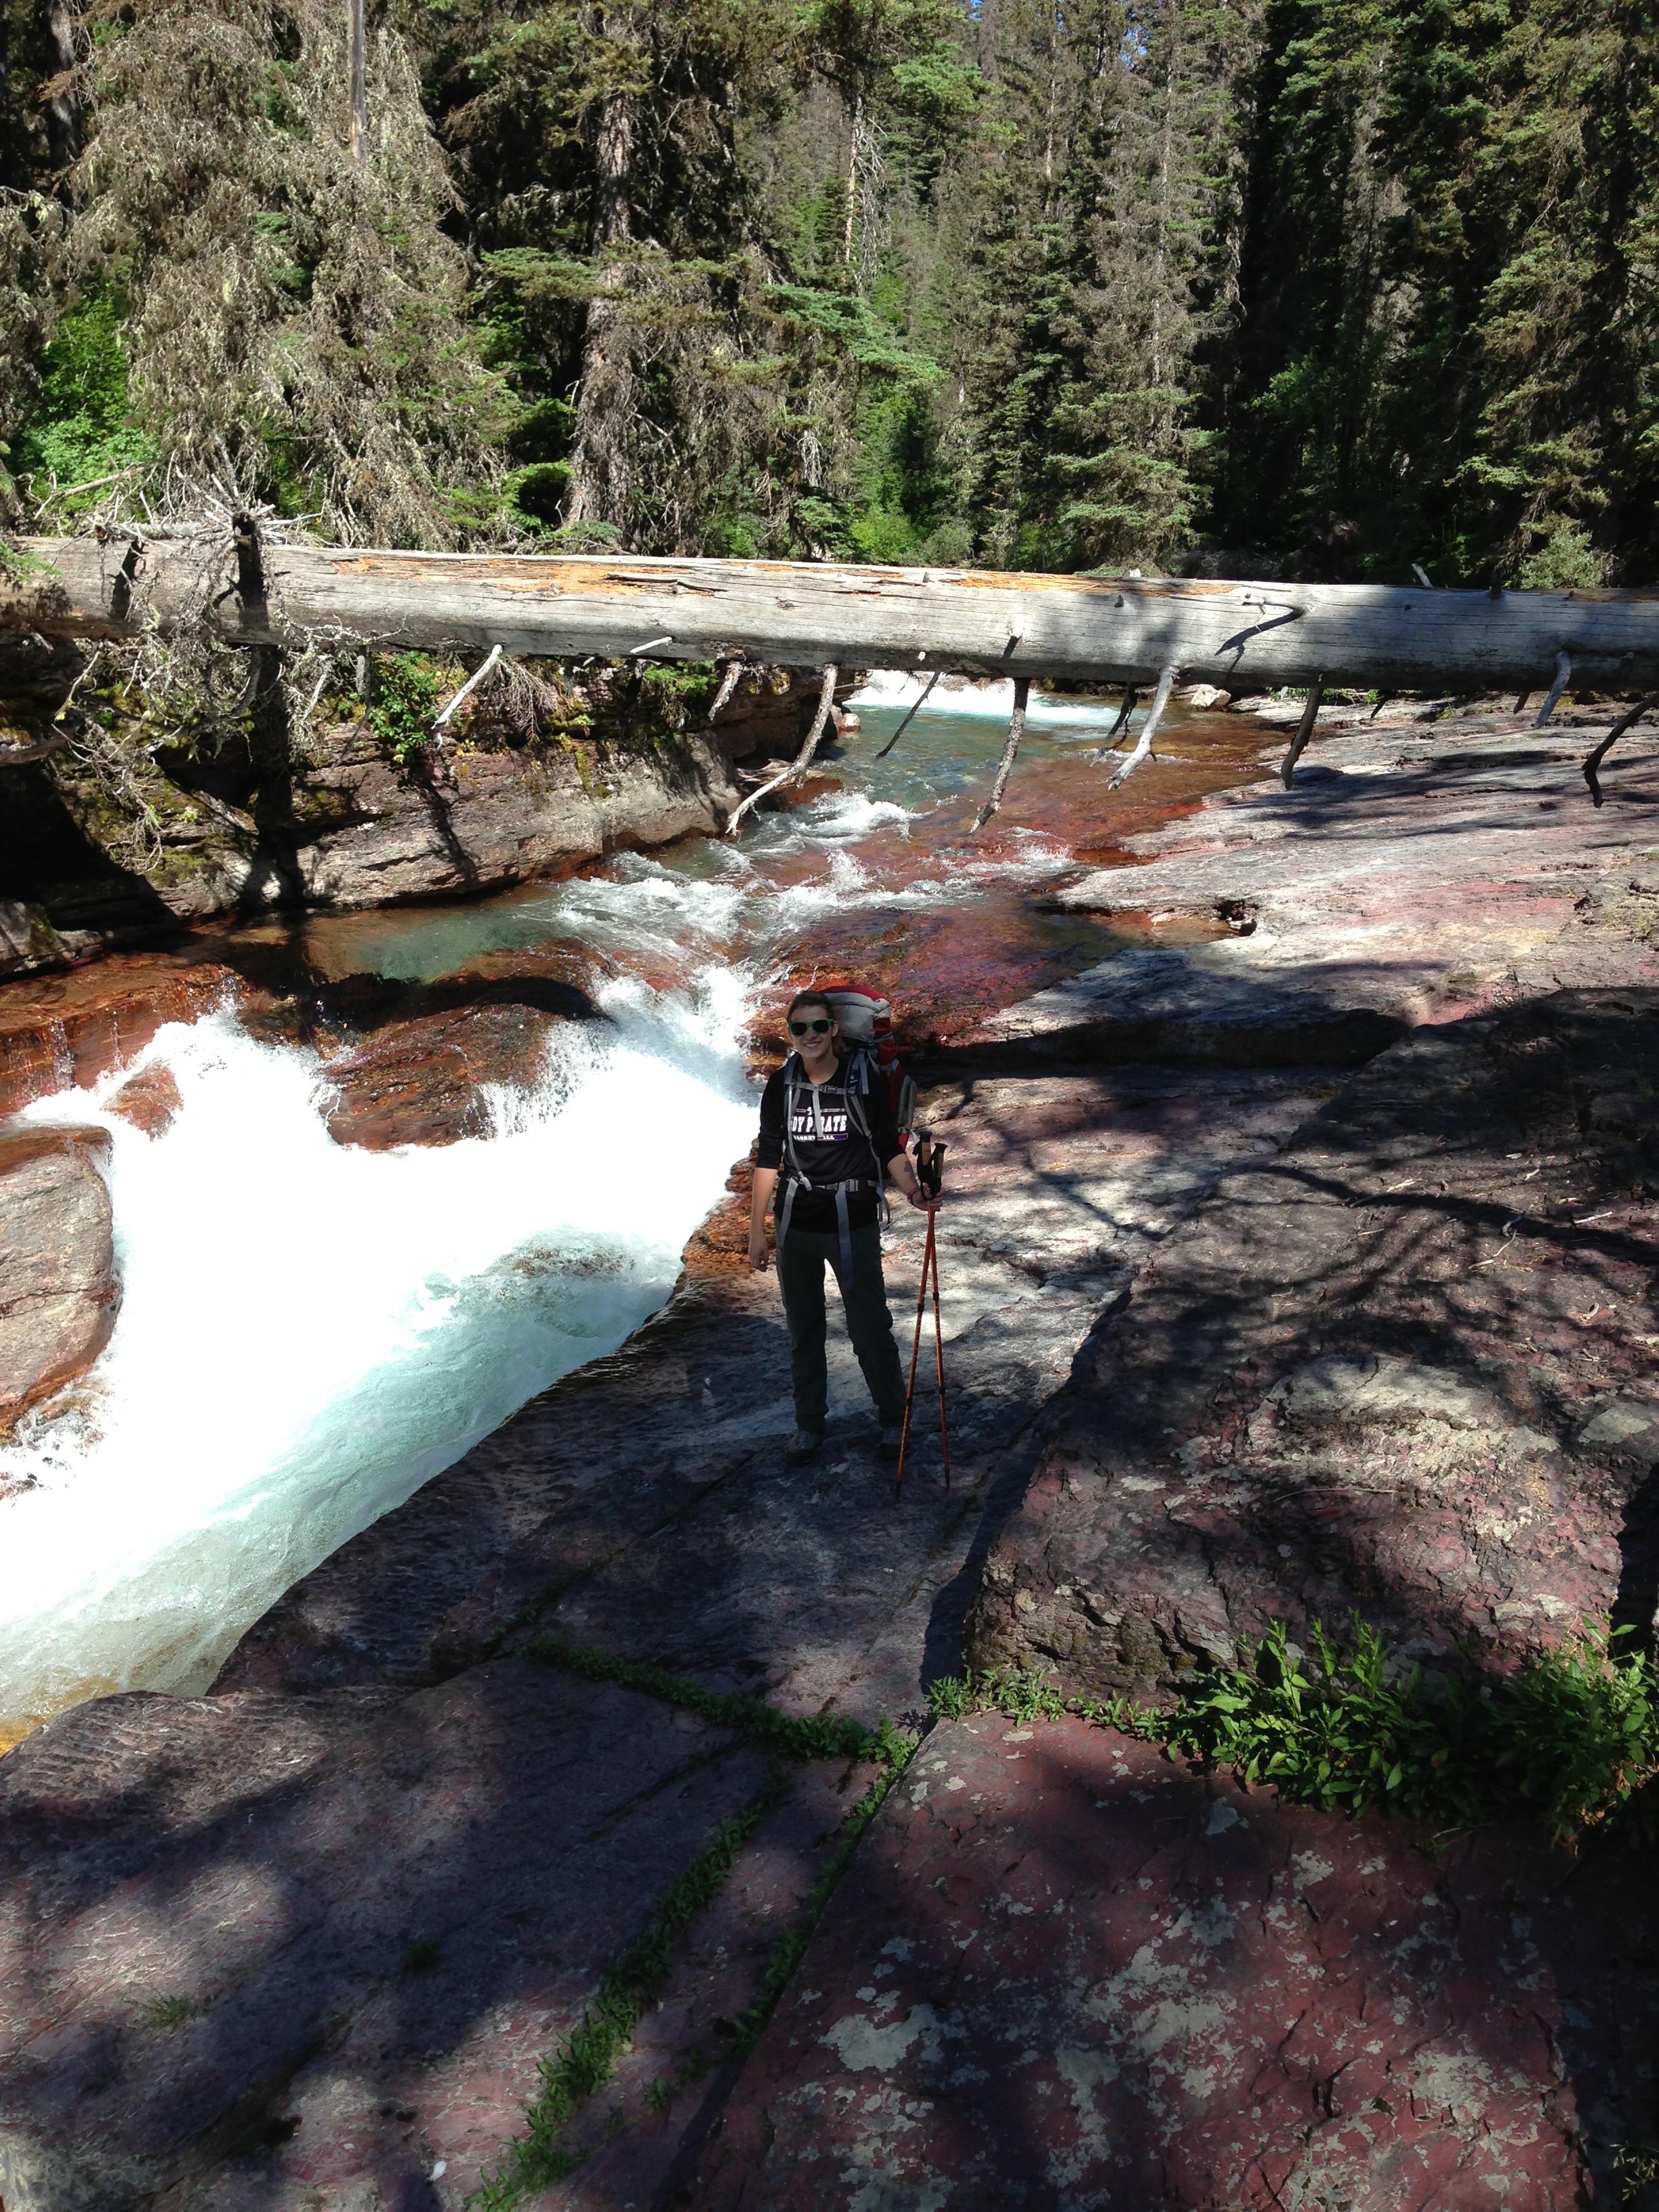
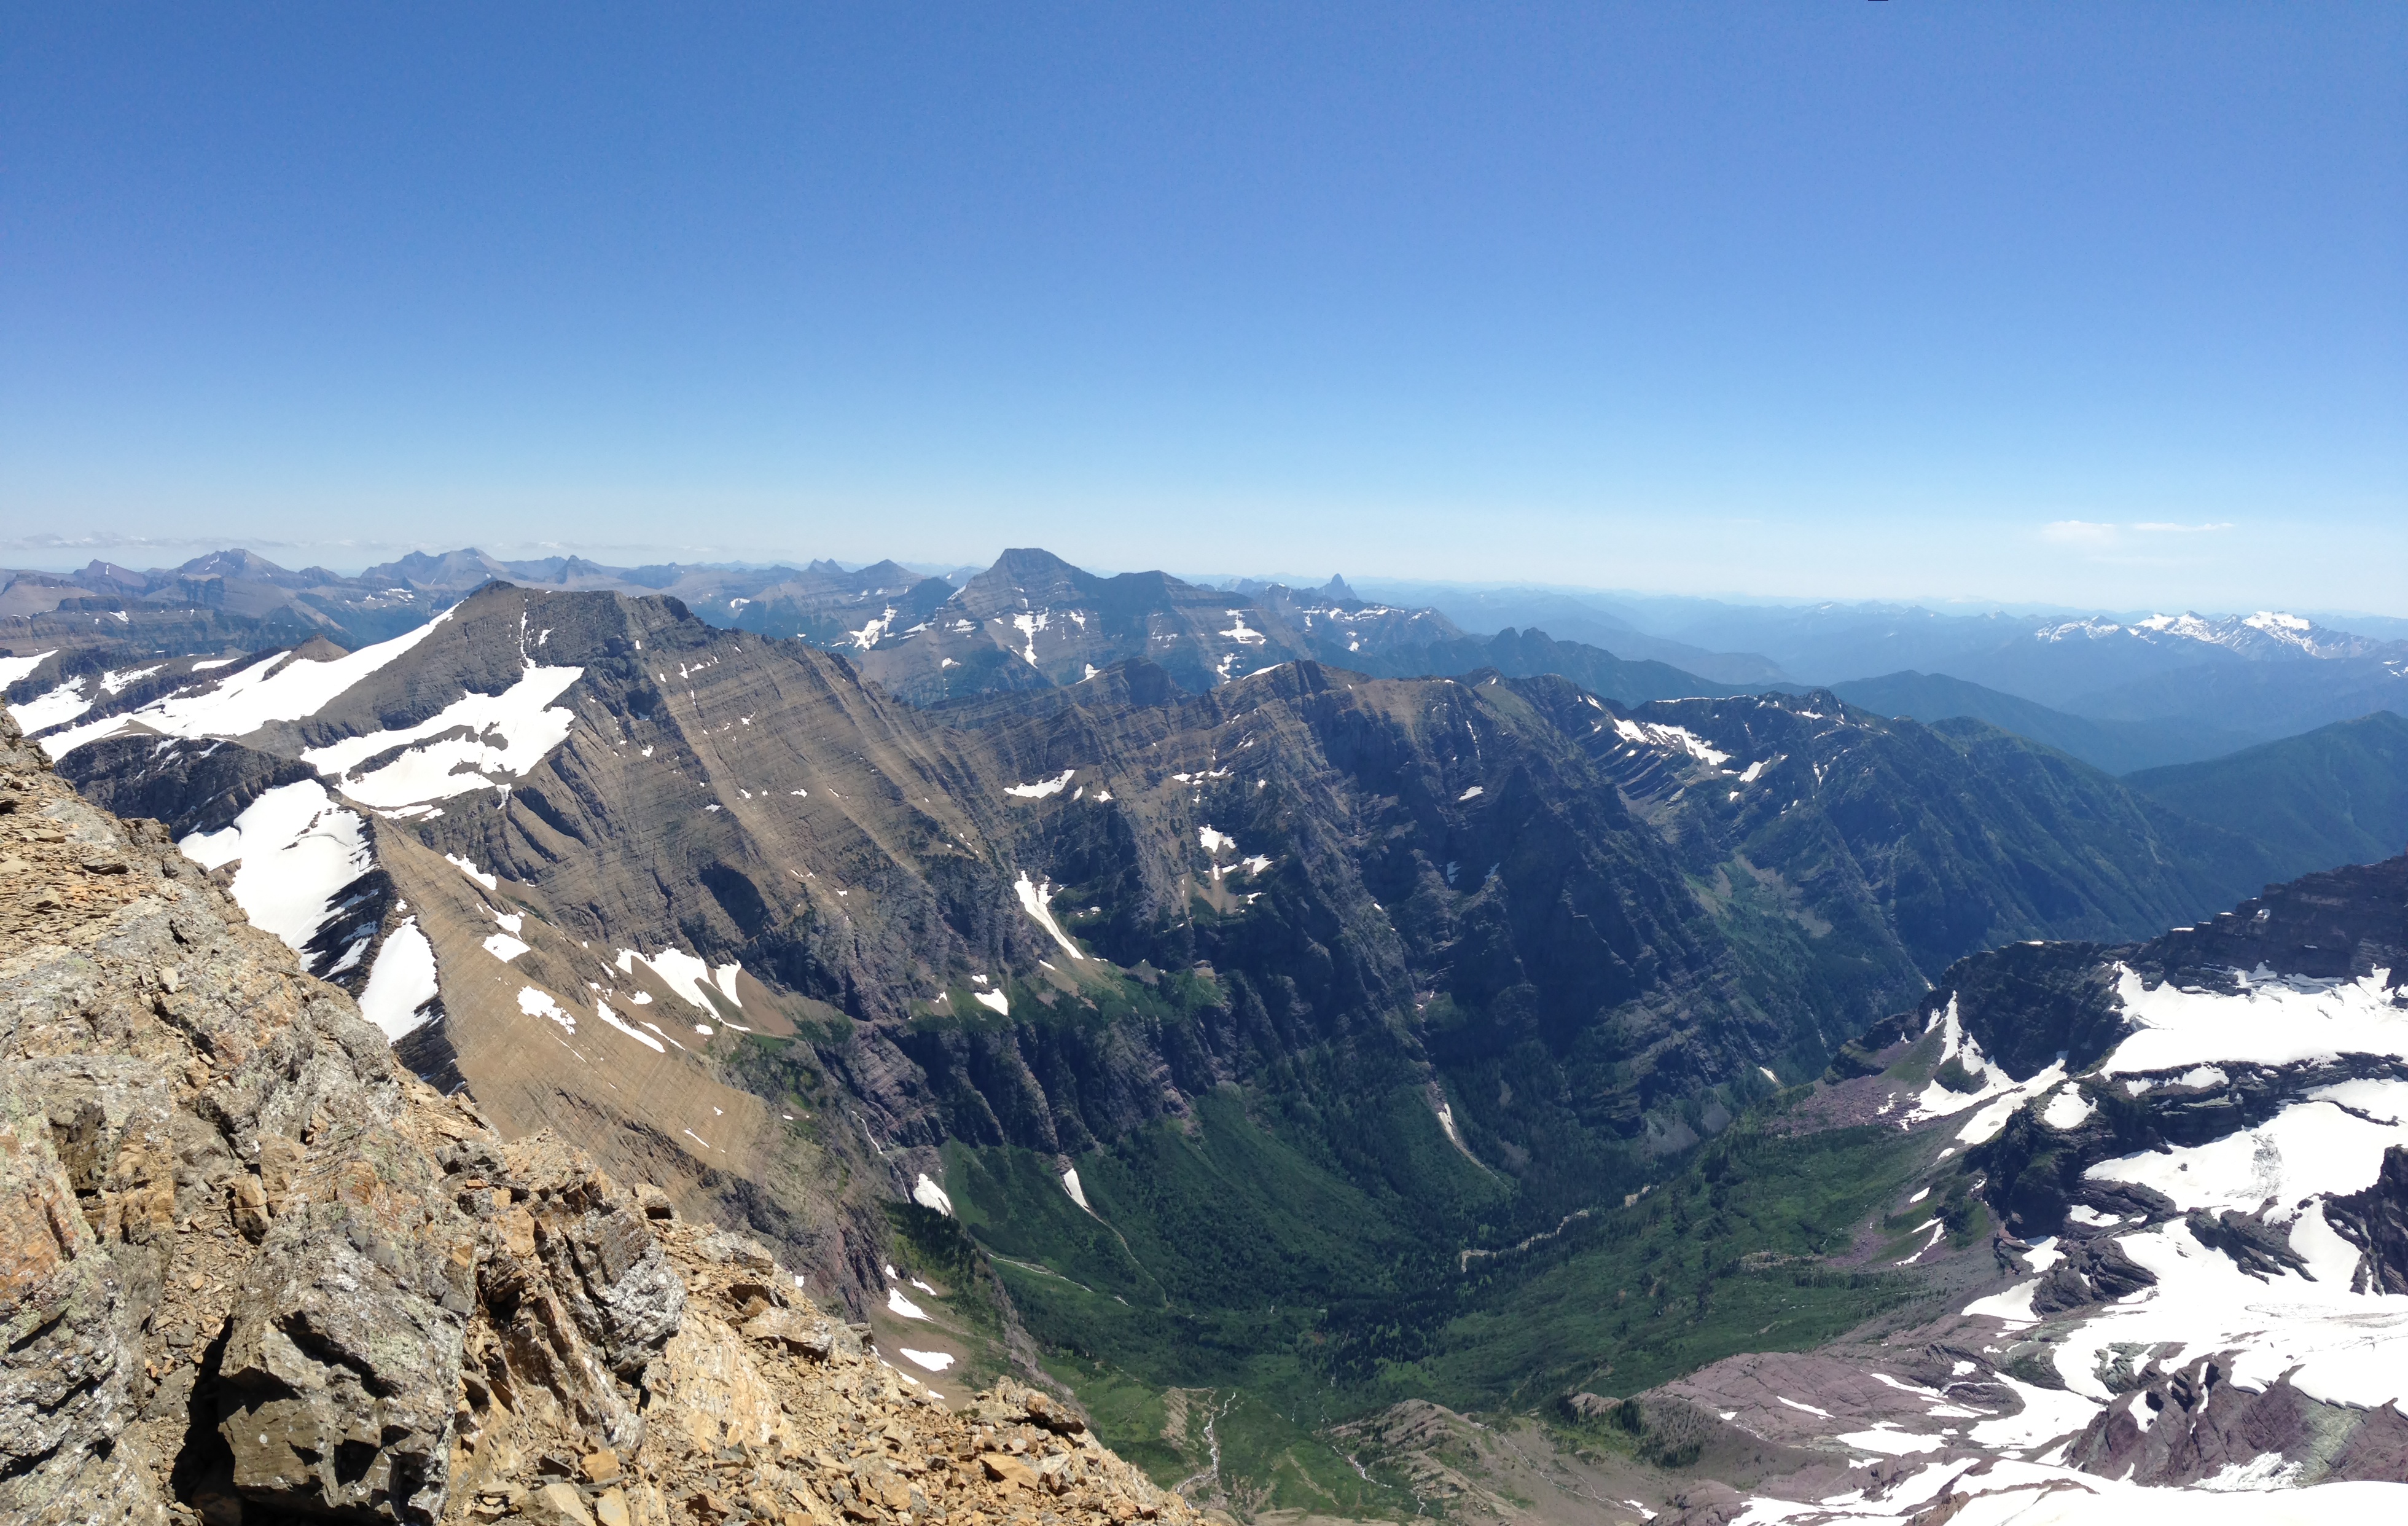
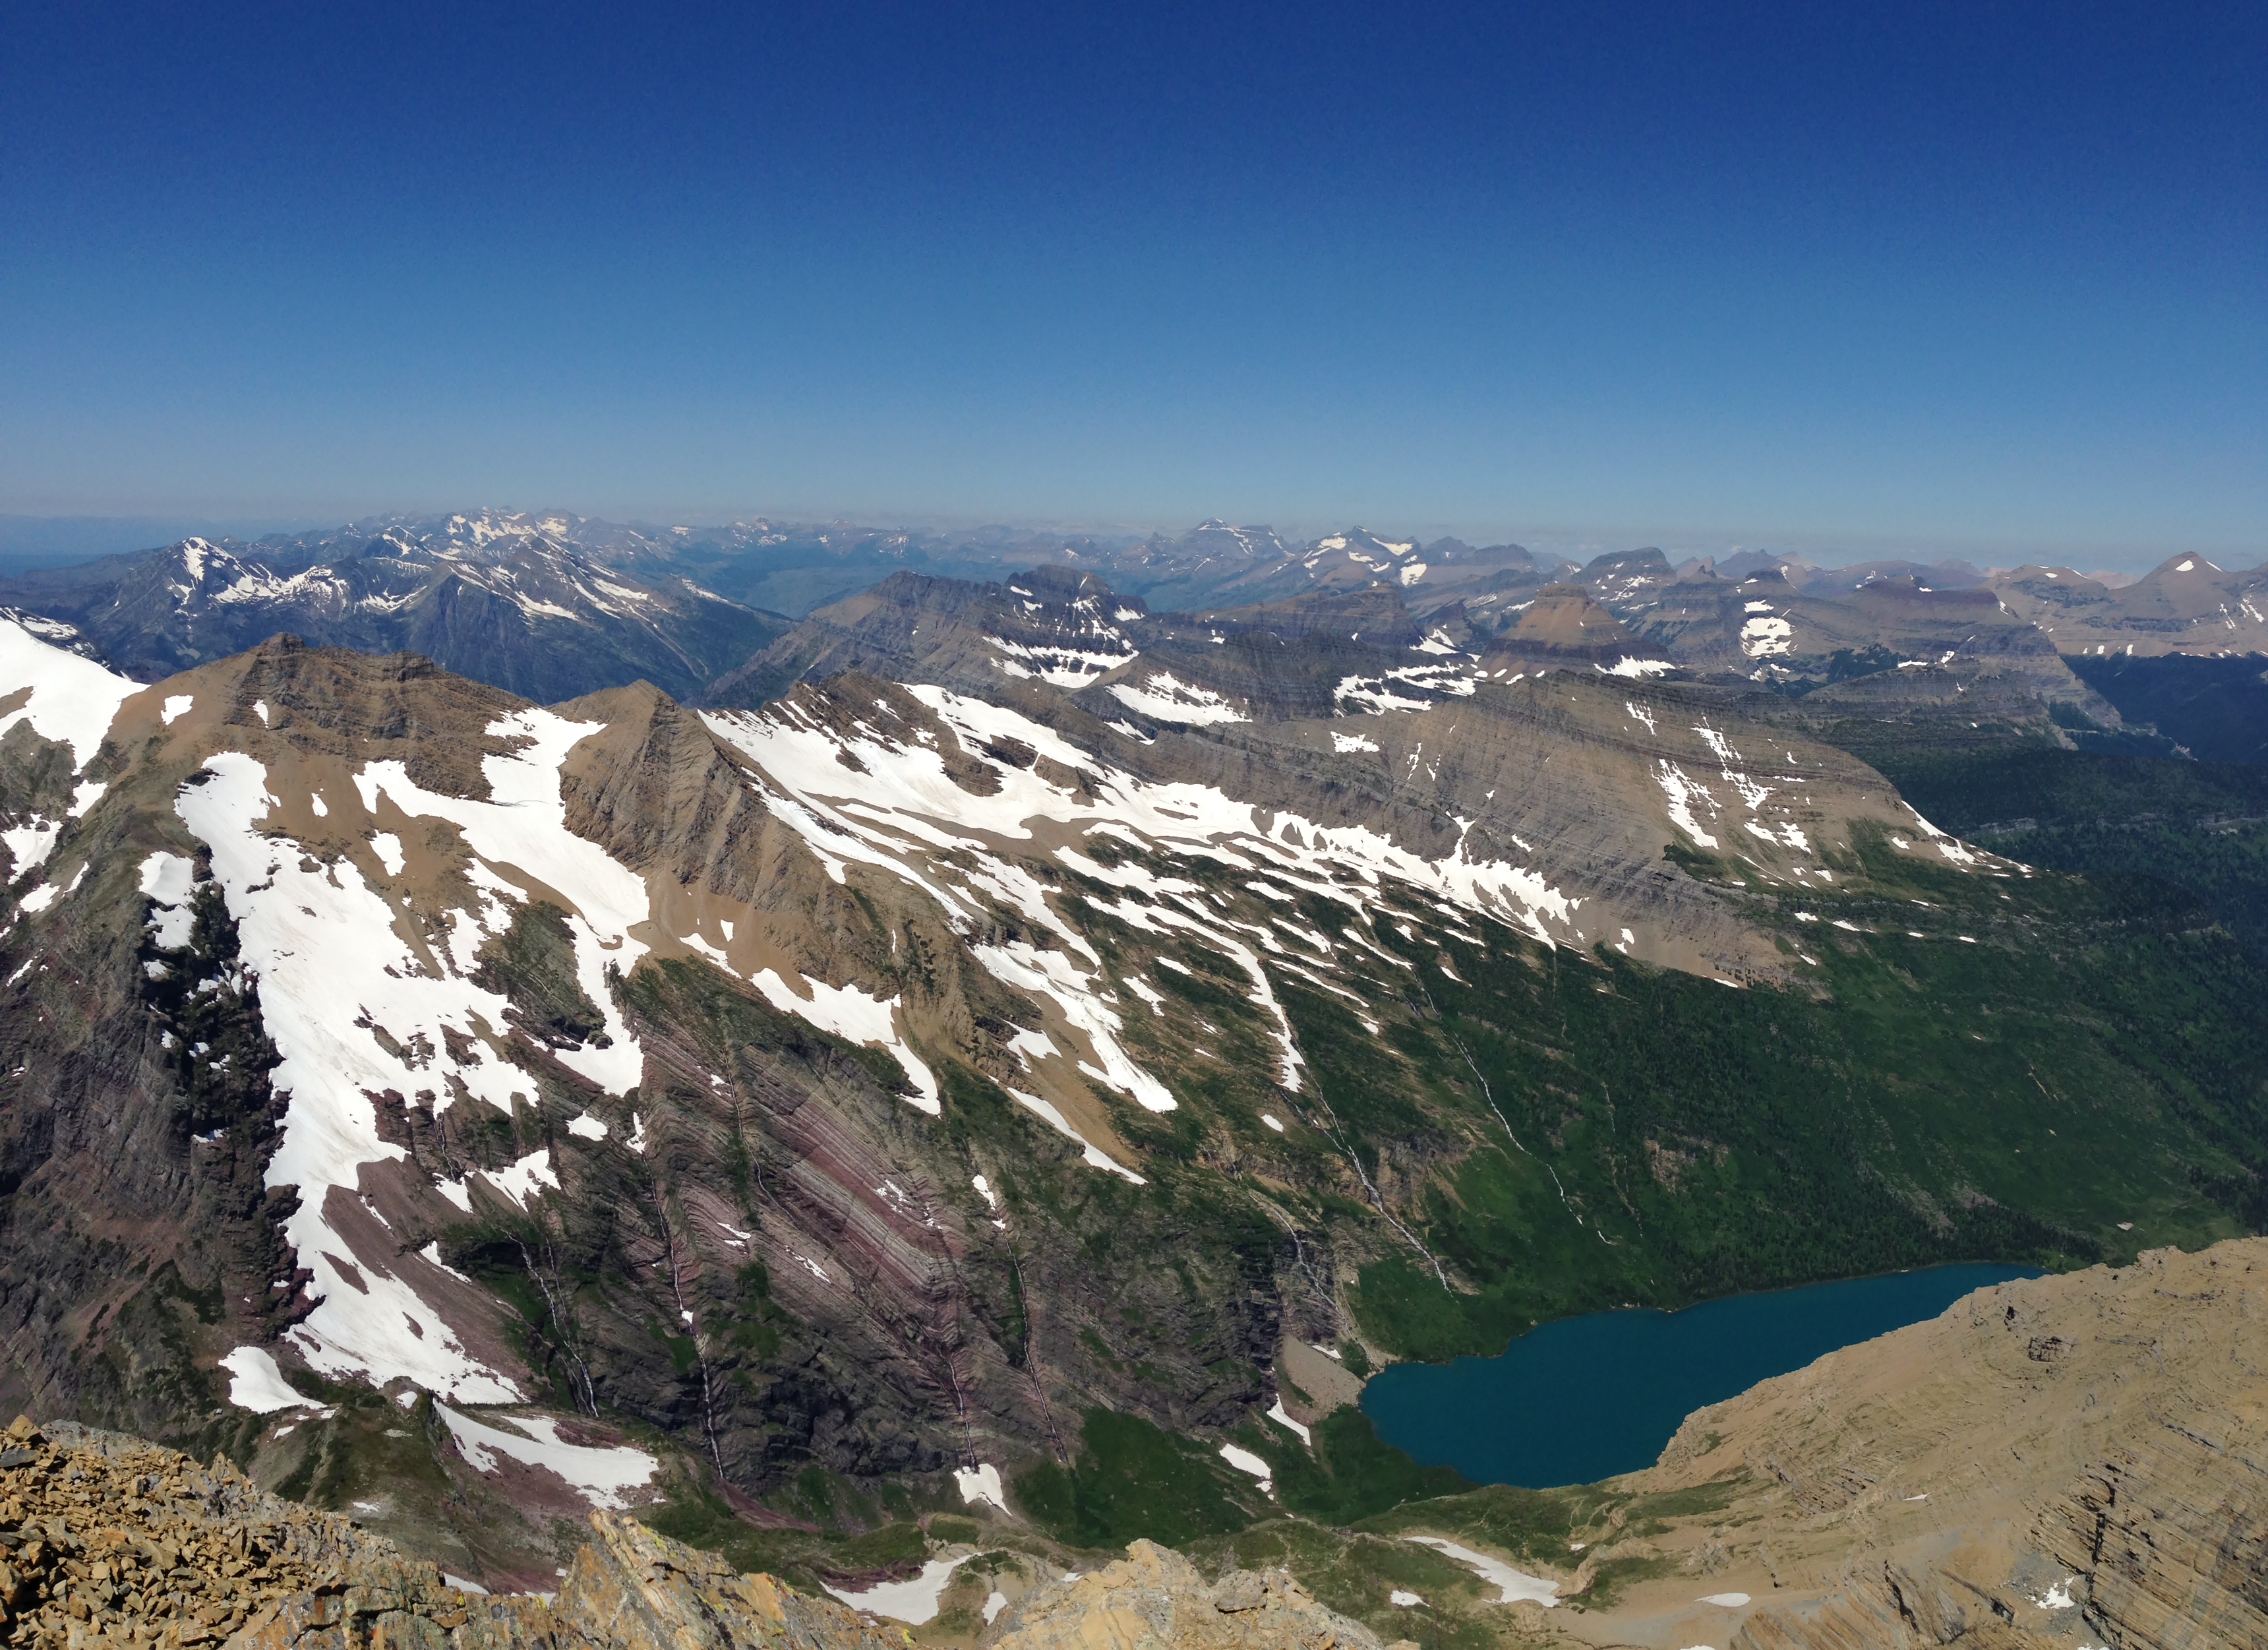
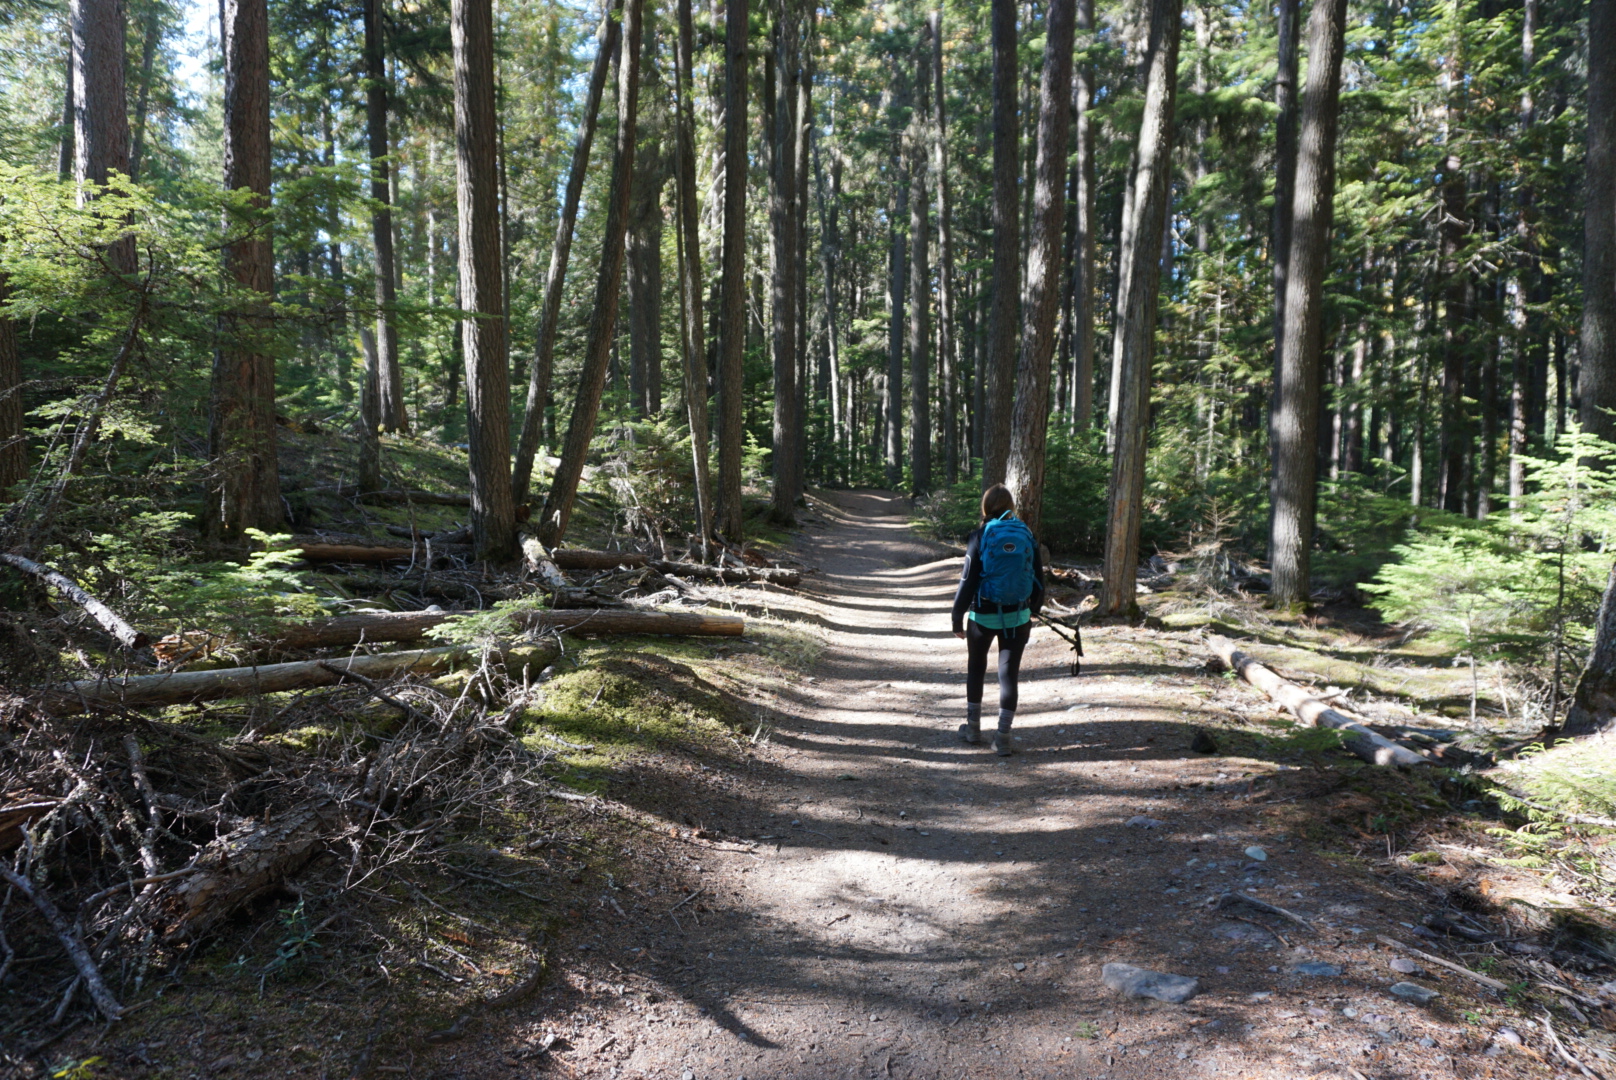
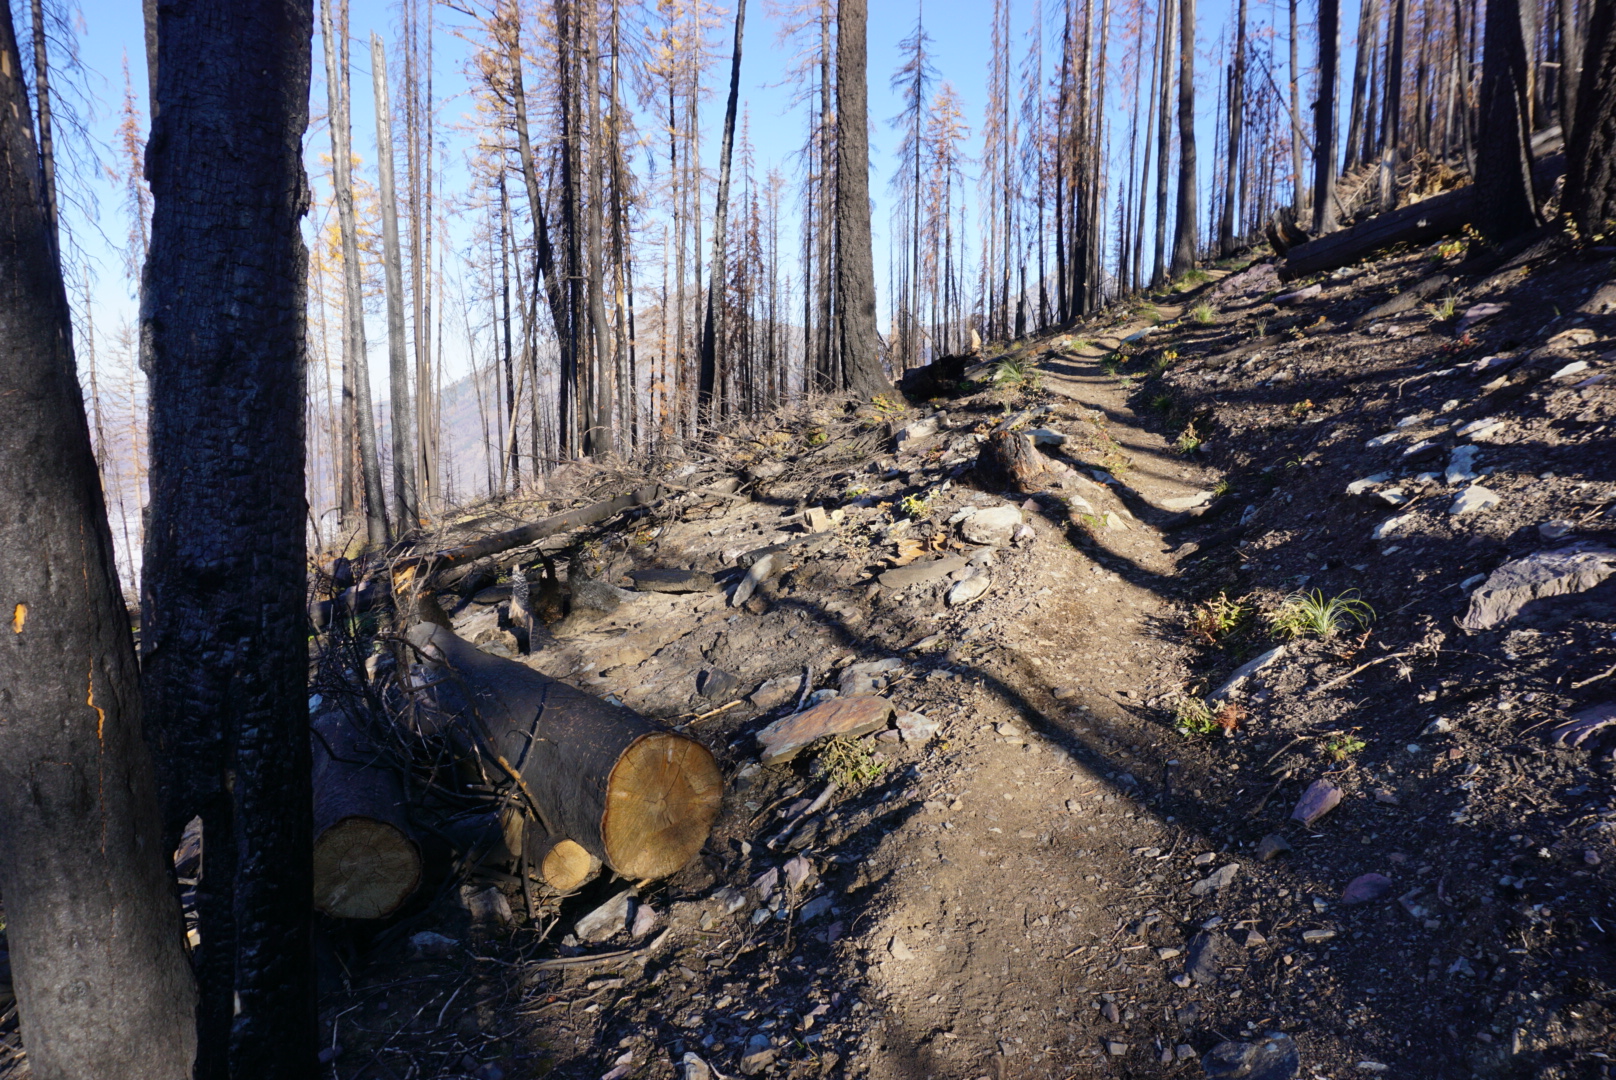
I suggest divorcing yourself from preconceived ideas that comfortable footwear is the best choice. In GNP the trails are icy, muddy, snowy, rocky, uneven, full of roots, and generally inconsistent. Functional and supportive footwear is a good choice. ⚠️Sandals, flip-flops, Chacos and the like may lead to injury and rescue🚁
*Support: 🥾coverage of the entire foot to protect toes, mid-foot, and top of foot from impact (rocks etc.). Mid-ankle or high-ankle to protect from impact and minimize the chance of an ankle-roll type injury
*Functional: Tread that has some grip. Consider material that has some water repellancy or waterproof if conditions dictate (waterproof doesn’t breath and gets very warm).
*Socks: 🧦so many choices… no cotton. Find a material and thickness that doesn’t overheat your feet and protects from blisters. Consider a liner sock. Your feet will thank you if you bring a fresh pair for the hike out🙌
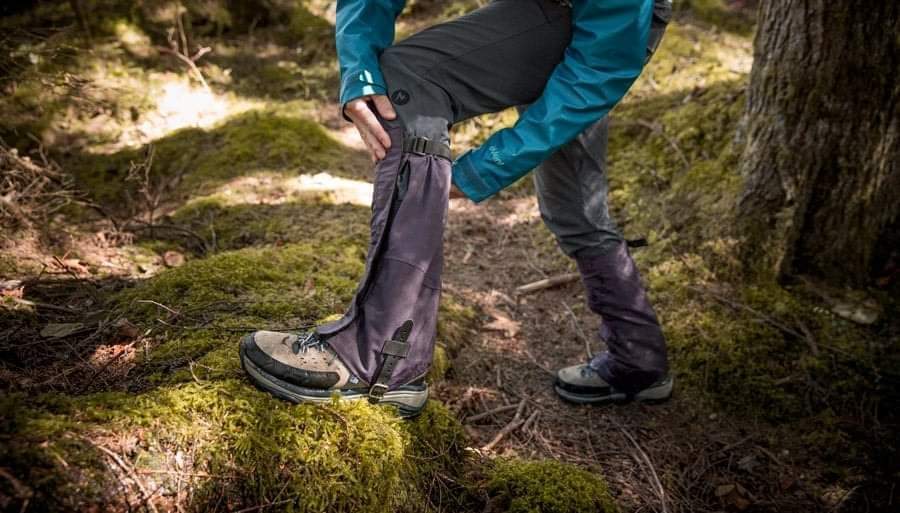
*Gaiters: wet pants from rain💦 or brushing against wet vegetation will wick water down your socks and into your boots. This will lead to discomfort and likely, blisters 👎. Gaiters are a nice barrier to prevent this👍
*Traction: in the shoulder seasons and winter ❄ the trails can be icy. YakTrax type slip-ons work well for flat trail. If there is any up or down slope you will want microspikes. If there is deep snow⛄ you will want snowshoes. And if the snow is steep you will want snowshoes with a heel lift.

Microspikes can prevent a slip and fall 
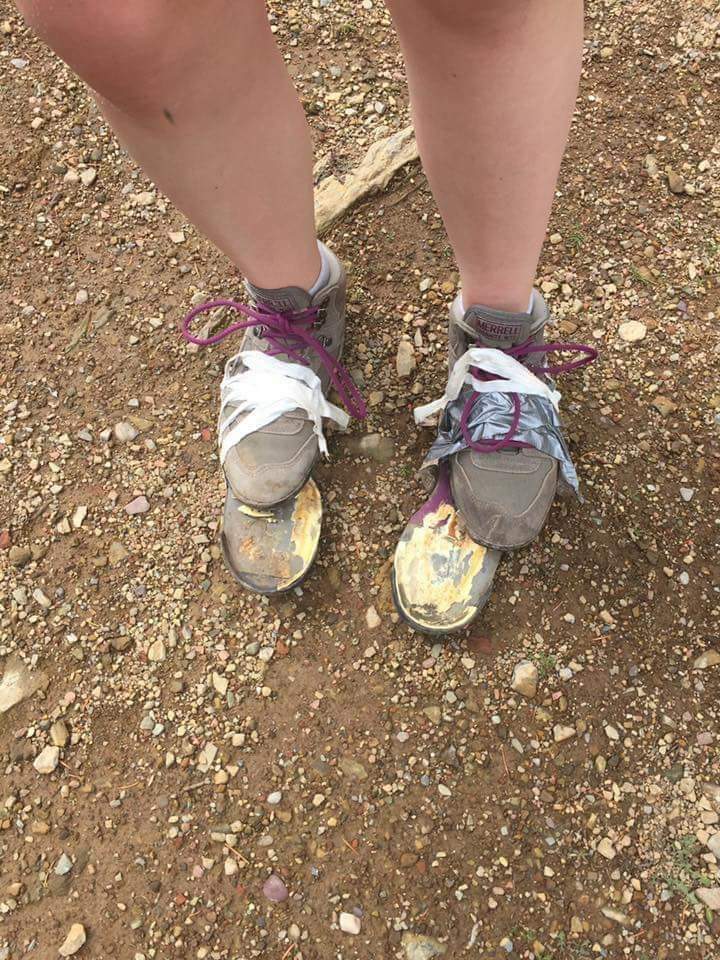
*Blisters: as SOON as you feel a hot spot 🛑 take a minute to cover that spot with a friction barrier such as mole skin, a band aid, duct tape, something to minimize the friction against the skin. If you wait too long you will be miserable😢
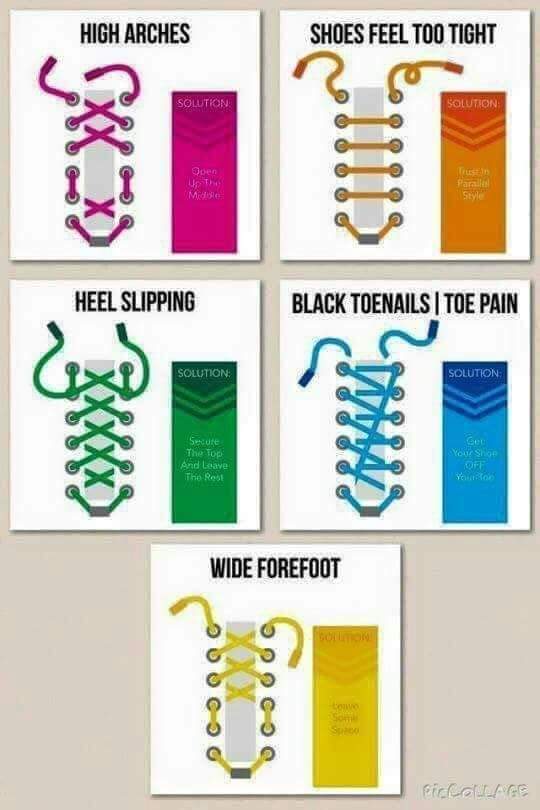
*See the above image for lacing technique to help with certain issues
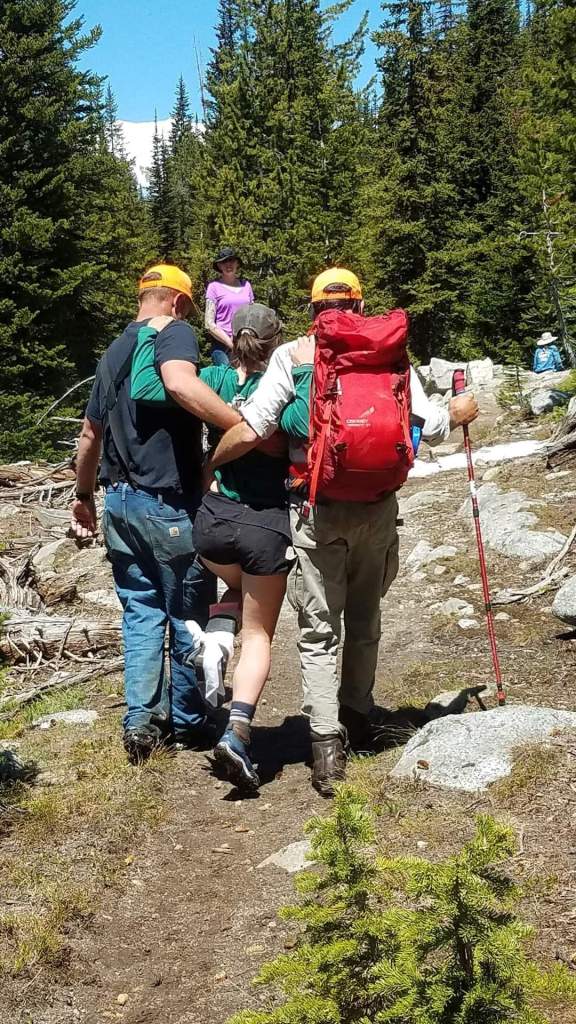
*There are few true orthopedic emergencies. You shouldn’t need to get a helicopter ride out for a rolled ankle or other minor injuries. Learn in advance how to self extricate or how others can help with extrication (see photo for one example)🧠
Part 4; CAPABILITY AWARENESS
People are always asking for hiking suggestions. If you want the BEST feedback be prepared to provide specific parameters. Know the abilities/limits of yourself and those in your group in advance💪
*Distance: know how many miles, round trip, you can physically handle.
*Elevation: know how much vertical gain and loss you can tolerate.🚶♀️ Generally uphill ↗️stresses your cardio while downhill ↘️stresses your knees.
*Pace: understand your typical pace ⏱ in mph on flat ground, uphill, and downhill.
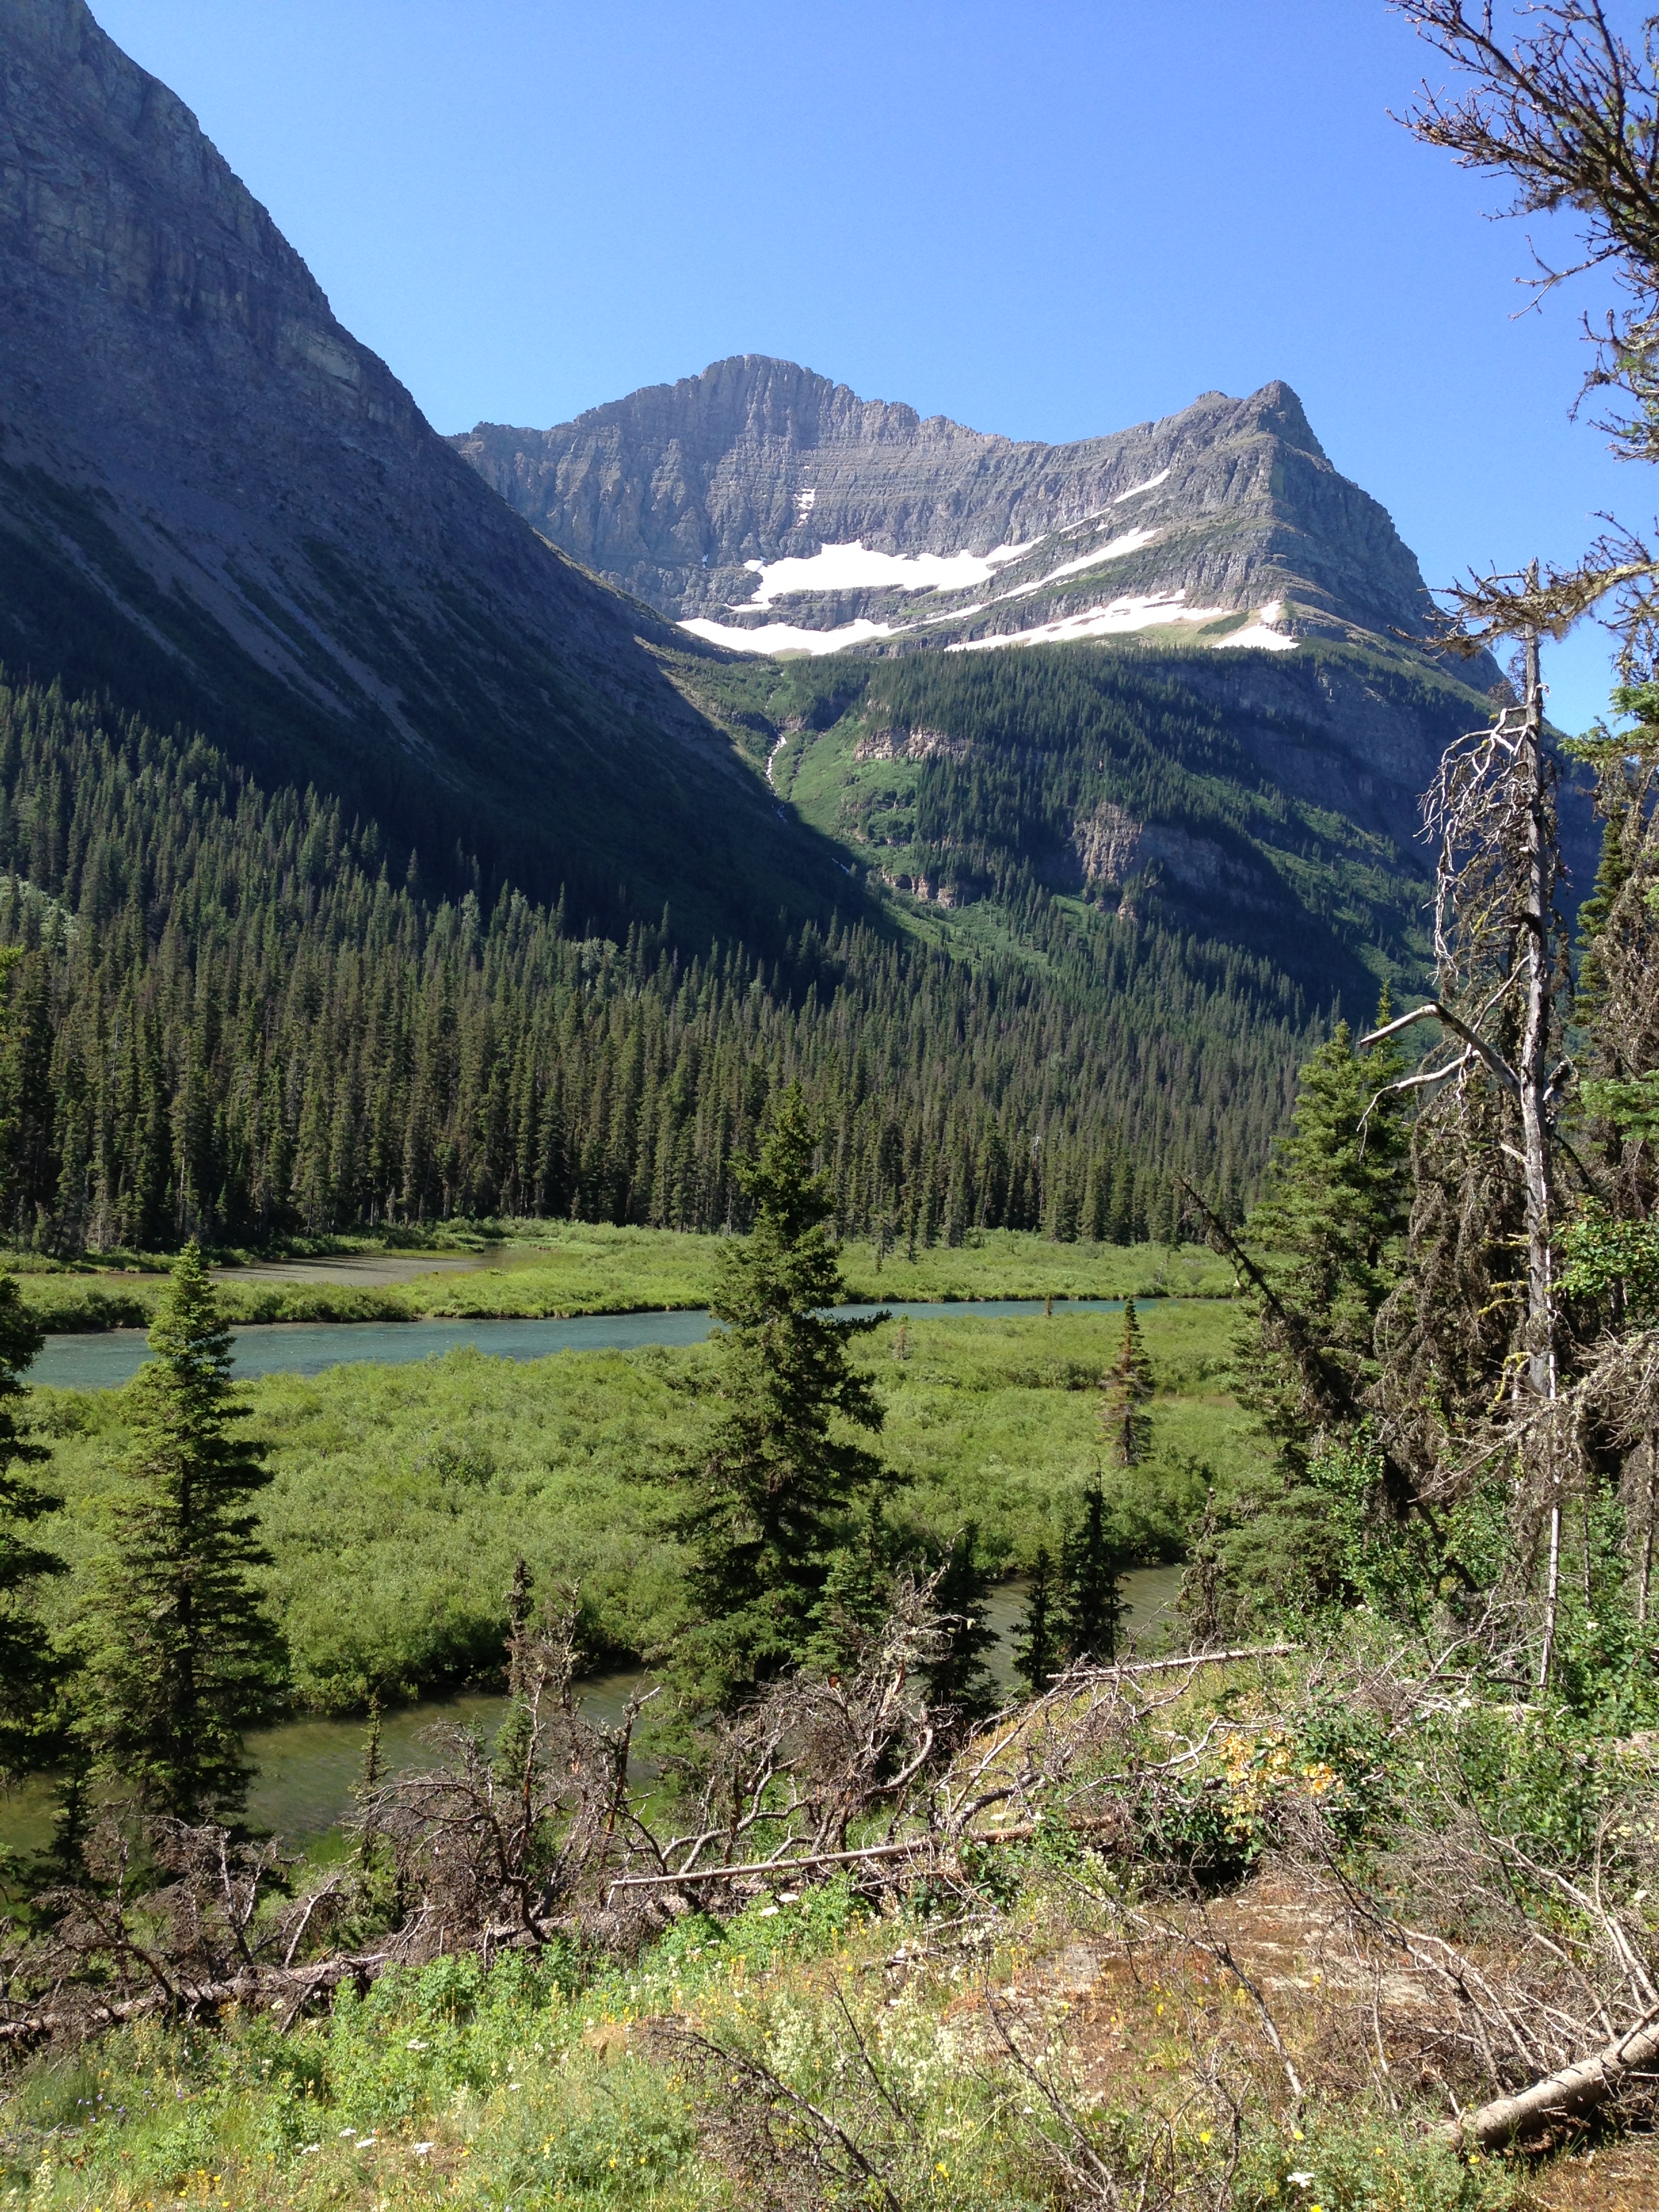
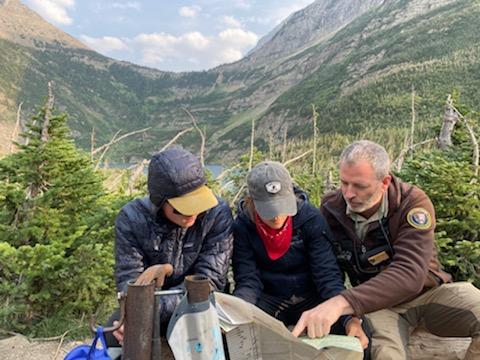
*Route: part of the Ten Essentials is being “prepared.” Know the stats🗺 (mileage, elevation gain/loss, obstacles) for any planned outing in advance. Combinations of uphill, downhill, gear weight, and mileage will alter your pace.
*Factors: understand there will likely be things in GNP that will DECREASE your endurance from that of your baseline. These factors include weather🌞🌧🌬❄ hydration, fatigue from travel, elevation above sea level, alcohol, sleep deprivation, and pack weight to name a few.
This knowledge will help you plan appropriate hikes that get you back to base before dark and without exhaustion or rescue 🤪
Part 5; TEMPERATURE REGULATION🌡
This is a companion note to the layers thread.
*Always start a trail cool or cold. If you start warm you will quickly need to stop and shed layers. “Be bold, start cold”
*In winter conditions 🌀try not to sweat much. Moisture will make you colder.
*The quickest, easiest way to adjust temperature is via hands and head 🤲🦲. If you’re cold throw a beenie or buff on your head and put on some gloves. If you’re warming up, take off the hat or remove your gloves. If you’re overheating 🔥dip a ballcap or buff in a creek and put it on your head. Try holding a snowball❄ (if accessible) in each hand.

Part 6; TEN ESSENTIALS
The “Ten Essentials” is a generally accepted list of items one should bring with them while hiking, backpacking, and mountaineering. Having these systems in place could help prevent a bad outcome should things go wrong (and they might). I always carry these, typically in a sack labeled “10 Essentials”. Items can be adapted to suit specific trip attributes.
1. Navigation: map, compass, or GPS (Many options, and knowledge of how to properly use them. Can you tell someone where to rescue you? Can you find your way out if you don’t see a trail? Signaling with a mirror or whistle is nice)
2. Headlamp & Extra Batteries
3. Sun/Wind/Weather Protection: sunscreen, sunglasses, hat, buff, clothing etc.
4. First Aid: from foot care and bug bites to lacerations and bleeding (I will share my kit items later)
5. Knife and Duct Tape: (to help with gear repair, fire construction, etc.)
6. Fire: matches or lighter + firestarter (I use cotton balls and vaseline)
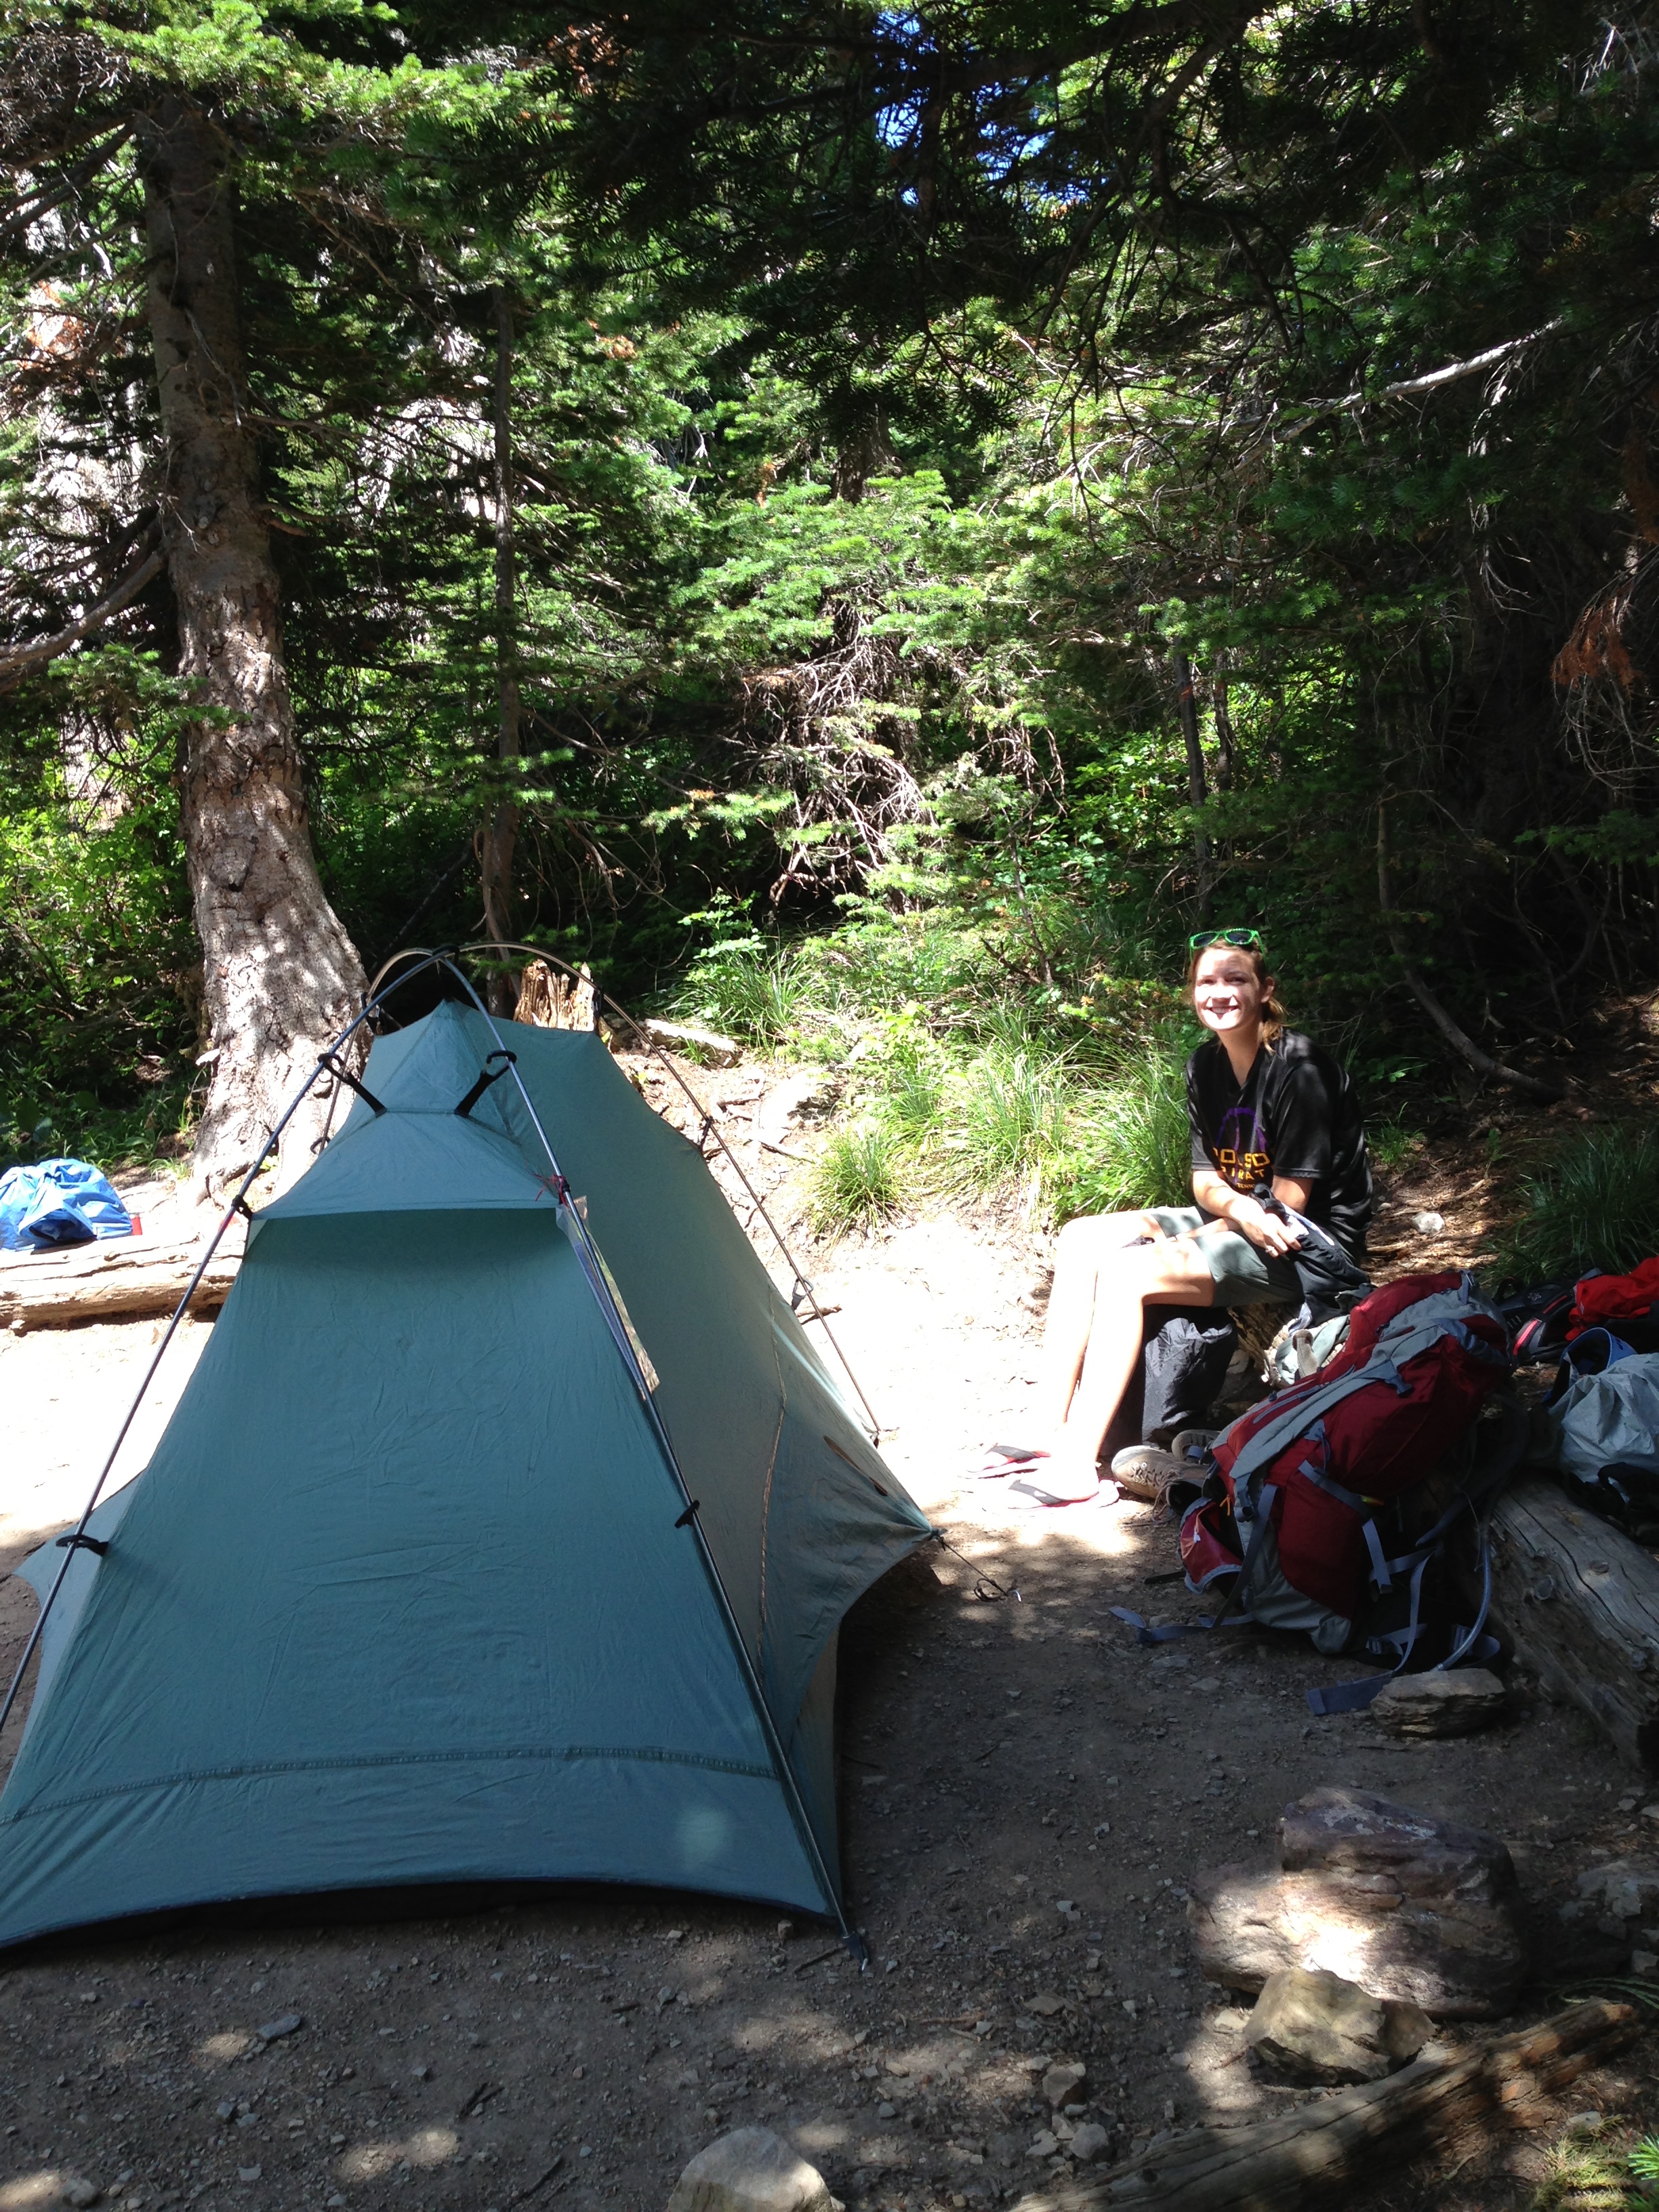
7. Shelter: protection from the elements should you have to remain in place for a while or overnight. (I use a space blanket type bivy in the summer and an insulated one in the winter)
8. Extra Food: plan to spend the night.
9. Extra Water: plan to spend the night. (Filter?)
10. Extra Clothes: plan to spend the night. (What could overnight temps and conditions be?)
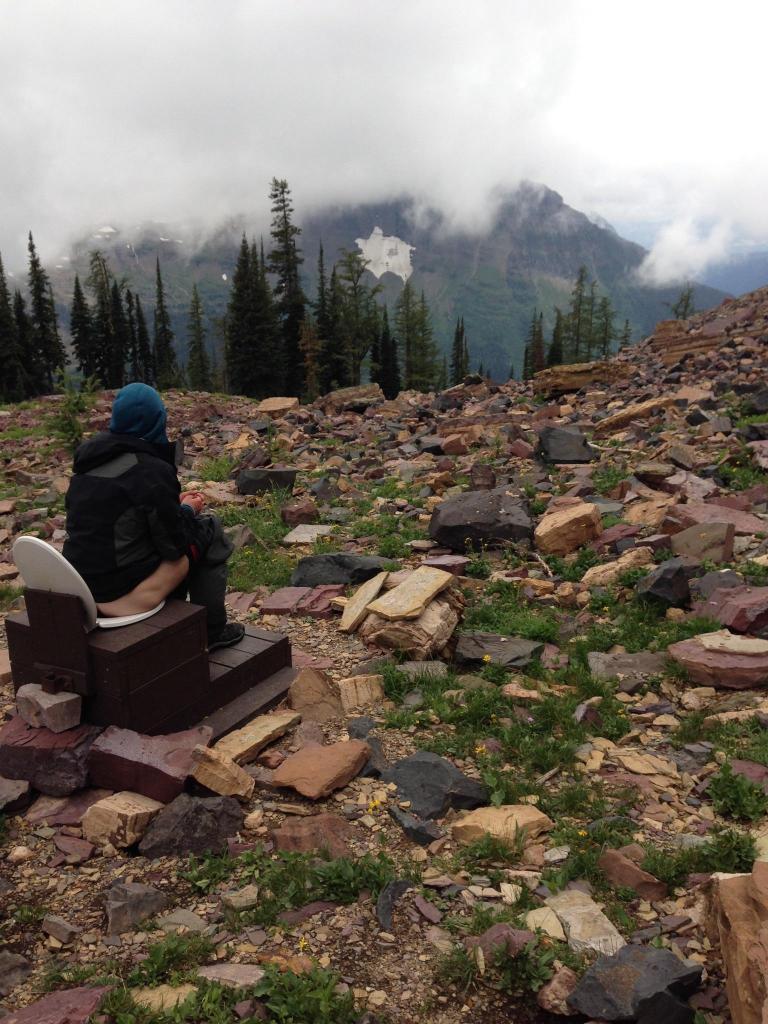
10.5 Ok this is my own thing and while not necessary for survival it IS important… Toiletries: Ziplock baggies, toilet paper, feminine needs & trowel (So you can bury your excrement and pack out your paper including feminine products)
The best preparation is to expect the unexpected! I hope to see you out there on the trail. Feel free to follow me on IG @GlacierCountry and check out my post about the “Day Pack” for Glacier Park